
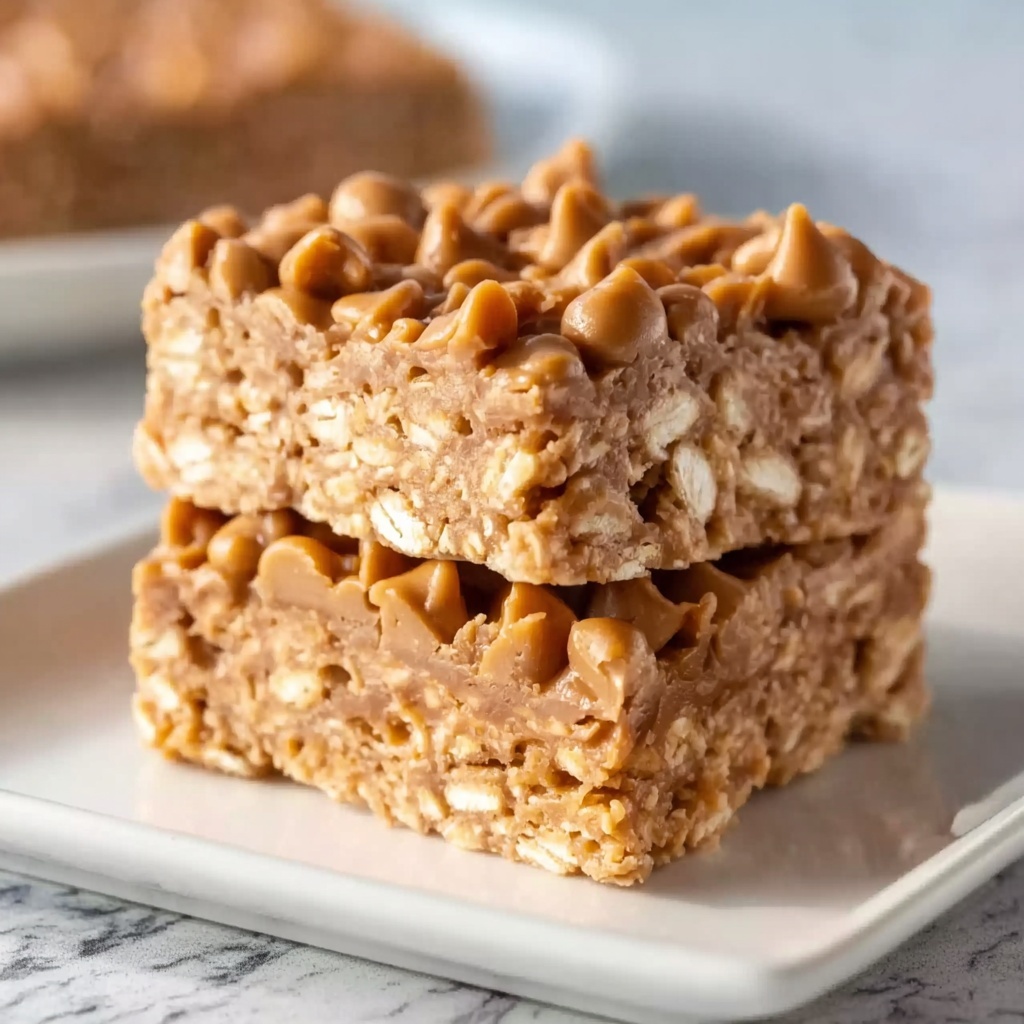
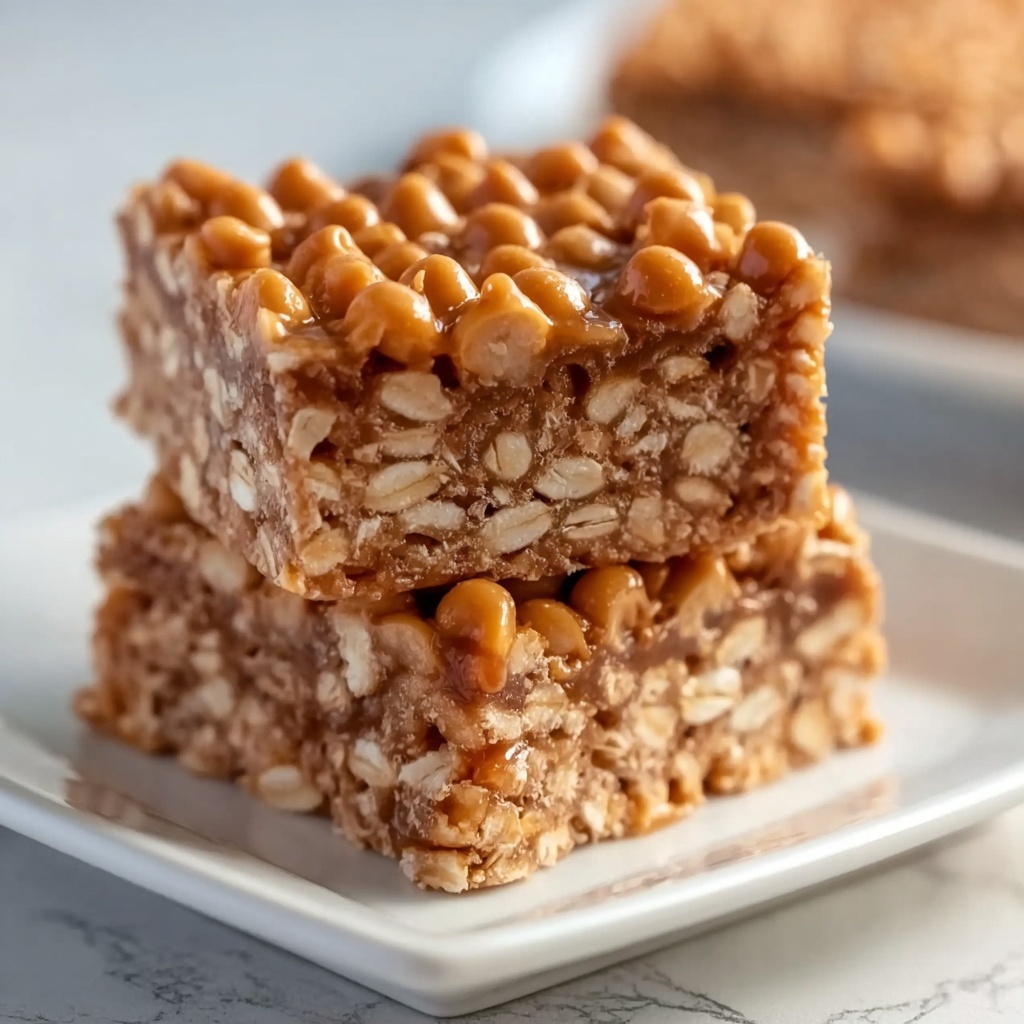
If you have a sweet tooth and love that perfect combination of crispy and gooey, this Homemade Crunch Bars Recipe is about to become your new best friend. Imagine crunchy rice cereal enveloped in a rich, luscious mix of melted chocolate, butter, and marshmallows, creating an indulgent treat that’s wonderfully easy to whip up. Whether you’re gathering with friends or just craving a delightful snack, these bars deliver unbeatable texture and flavor that’s simply irresistible.
Ingredients You’ll Need
The magic of this recipe lies in its simplicity. Each ingredient plays a crucial role in creating that iconic crunch, chocolatey goodness, and satisfying chew that define these bars.
- 3 cups rice cereal: Provides the crispy, airy base that makes these bars so delightfully crunchy.
- 1 cup chocolate chips (semi-sweet or dark): Adds rich chocolate flavor and smoothness that binds everything together.
- 4 tablespoons unsalted butter: Brings a creamy, luscious texture and helps the chocolate melt evenly.
- 2 cups mini marshmallows: Creates that signature gooey, chewy component that’s simply addictive.
- Optional toppings (nuts or sprinkles): A fun way to add extra crunch or a pop of color and festive flair.
How to Make Homemade Crunch Bars Recipe
Step 1: Prepare Your Baking Dish
Start by greasing an 8×8-inch baking dish with butter or cooking spray. This step ensures your bars will come out easily without sticking, so you get perfect squares every time.
Step 2: Melt Butter and Chocolate
In a medium saucepan set over low heat, combine the butter and chocolate chips. Stir gently until the mixture is smooth and glossy, creating that rich foundation for your bars.
Step 3: Add Mini Marshmallows
Next, stir in the mini marshmallows into the warm chocolate and butter mixture. Keep stirring until the marshmallows are completely melted and ushers a sticky, gooey texture that’s pure comfort.
Step 4: Fold in the Rice Cereal
Now, gently fold the rice cereal into your chocolate-marshmallow mixture. Make sure each piece is evenly coated for that perfect crunch in every bite without sogginess.
Step 5: Press into the Baking Dish
Pour the mixture into your prepared baking dish. Use a spatula or clean hands to press it down firmly, which helps the bars set well and hold their shape.
Step 6: Add Optional Toppings
If you’re feeling adventurous, sprinkle nuts or colorful sprinkles on top before the mixture cools completely. It’s a beautiful way to add a personalized touch and some extra flavor or crunch.
Step 7: Chill and Slice
Refrigerate the bars for about 30 minutes until they’re set and firm. Once chilled, slice them into squares and get ready to enjoy that fantastic crunch with every bite!
How to Serve Homemade Crunch Bars Recipe
Garnishes
To make your Homemade Crunch Bars Recipe even more delightful, consider topping them with a drizzle of melted white chocolate, a sprinkle of sea salt, or extra chopped nuts. These simple touches elevate the flavor and the presentation, making your bars look as wonderful as they taste.
Side Dishes
While these bars are delightful on their own, pairing them with a scoop of vanilla ice cream or a glass of cold milk offers a nostalgic and comforting experience. Fresh berries on the side can also add a refreshing contrast to the richness.
Creative Ways to Present
Try arranging your bars in a colorful tray for parties or wrapping individual squares in parchment paper tied with twine for adorable homemade gifts. You can even layer crumbled bars into a parfait with whipped cream and fruit for a fun twist. The possibilities with this recipe are endless!
Make Ahead and Storage
Storing Leftovers
Keep any leftover Homemade Crunch Bars Recipe in an airtight container at room temperature for up to 3 days. This helps preserve their crunchy texture and gooey softness without drying out.
Freezing
For longer storage, freeze individual bars wrapped tightly in plastic wrap and placed in a sealed freezer bag. When frozen this way, they will keep their delightful texture and flavor for up to 2 months.
Reheating
If you want to enjoy your bars warm, unwrap them and microwave for 10–15 seconds on low power. This softens the chocolate and marshmallow just enough to bring back that freshly made feel without losing crunch.
FAQs
Can I use different types of cereal for the Homemade Crunch Bars Recipe?
Absolutely! While rice cereal is classic for its light crunch, you can experiment with corn flakes or even crispy oat cereals. Just keep in mind the texture may vary slightly.
Are there vegan options for this Homemade Crunch Bars Recipe?
Yes, you can use dairy-free butter and vegan marshmallows along with dairy-free chocolate chips to make a delicious vegan-friendly version of these bars.
Can I add peanut butter to the recipe?
Definitely! Adding a half cup of peanut butter when melting the butter and chocolate can add a wonderful nutty depth and creamy richness to your bars.
What is the best way to cut the bars evenly?
Use a sharp knife and slice the bars while they are fully chilled. For clean lines, wipe the knife blade between each cut to prevent sticking.
How long do these bars last once made?
Stored properly in an airtight container, Homemade Crunch Bars Recipe will stay fresh for up to 3 days at room temperature or longer if refrigerated or frozen.
Final Thoughts
There’s truly nothing quite like the joy of making and sharing this Homemade Crunch Bars Recipe with the people you love. The blend of textures and flavors is deeply satisfying and sure to become a go-to treat for any occasion. So grab your ingredients, get cozy in the kitchen, and enjoy every crunchy, chocolaty bite!
Print
Homemade Crunch Bars Recipe
- Prep Time: 10 minutes
- Cook Time: 10 minutes
- Total Time: 40 minutes
- Yield: 16 servings
- Category: Dessert
- Method: Stovetop
- Cuisine: American
Description
Homemade Crunch Bars are a delicious no-bake treat made from rice cereal, melted chocolate, butter, and marshmallows. These easy-to-make bars combine the crispy texture of rice cereal with a rich chocolatey marshmallow coating, perfect for snacking or dessert. Optional toppings like nuts or sprinkles add extra flavor and texture.
Ingredients
Main Ingredients
- 3 cups rice cereal
- 1 cup chocolate chips (semi-sweet or dark)
- 4 tablespoons unsalted butter
- 2 cups mini marshmallows
Optional Toppings
- Nuts or sprinkles
Instructions
- Prepare the baking dish: Grease an 8×8-inch baking dish with butter or cooking spray to prevent sticking and to make removal easier later.
- Melt butter and chocolate: In a medium saucepan over low heat, melt the unsalted butter and chocolate chips together, stirring occasionally until the mixture is smooth and uniform.
- Add marshmallows: Stir in the mini marshmallows into the melted chocolate and butter mixture. Continue stirring until the marshmallows have completely melted and are fully combined with the chocolate mixture.
- Incorporate rice cereal: Gently fold the rice cereal into the chocolate-marshmallow mixture, ensuring that the cereal is evenly coated without breaking it.
- Press into baking dish: Pour the coated cereal mixture into the prepared baking dish, pressing down firmly and evenly to create a compact layer.
- Add toppings: Sprinkle optional toppings such as nuts or sprinkles over the bars before the mixture cools completely to allow them to stick.
- Chill and set: Refrigerate the baking dish for about 30 minutes or until the bars are set firmly. Once set, slice into 16 bars and serve.
Notes
- Use low heat when melting chocolate and butter to prevent burning.
- For extra flavor, try adding a teaspoon of vanilla extract to the melted chocolate mixture.
- Pressing the mixture firmly helps the bars hold together better after chilling.
- These bars can be stored in an airtight container at room temperature for up to 3 days or refrigerated for up to a week.
- Customize with your favorite mix-ins like dried fruits or different types of nuts.


