
If you have a craving for something irresistibly crunchy on the outside with a melty, cheesy center, the Crispy Loaded Potato Cheese Sticks Recipe is your new best friend. This dish brings together crispy golden potato exteriors with gooey cheese and flavorful toppings, creating a snack that’s perfect for gatherings, game days, or a comforting treat any time you want. Trust me, once you try this recipe, it will quickly become a must-make in your kitchen because it perfectly balances texture and taste in every bite.
Ingredients You’ll Need
These ingredients are wonderfully straightforward, yet each plays a crucial role in making the Crispy Loaded Potato Cheese Sticks Recipe truly outstanding. From the potatoes that provide that crispy base to the cheese that melts just right, every component ensures perfect texture and flavor harmony.
- Russet potatoes: Ideal for frying due to their starchy texture, delivering a crispy outside and fluffy inside.
- Cheddar cheese: Sharp and melt-friendly, it adds rich, gooey flavor packed inside each stick.
- All-purpose flour: Helps bind the mixture so the sticks hold their shape during cooking.
- Eggs: Act as a natural glue for coating and helping the breading stick perfectly.
- Breadcrumbs: For that golden and crunchy crust that makes these sticks truly addictive.
- Green onions: Add a fresh pop of mild onion flavor and bright green color.
- Bacon bits (optional): A smoky, salty addition bringing extra indulgence.
- Salt and pepper: Essential for seasoning to bring out the best flavors.
- Oil for frying: A neutral oil like vegetable or canola ensures even frying and crispiness.
How to Make Crispy Loaded Potato Cheese Sticks Recipe
Step 1: Prep and Cook the Potatoes
Start by boiling your russet potatoes until tender. This step is crucial because perfectly cooked potatoes provide the fluffy texture inside the sticks that contrasts so delightfully with the crispy coating. Once cooked, mash them up smoothly and make sure there are no lumps — this will make for the best cheesy filling later on.
Step 2: Mix Cheese and Seasonings into the Potato
Once your mashed potatoes are ready, mix in the finely shredded cheddar cheese, green onions, bacon bits if you’re using them, and season with salt and pepper. This combination is the magic of the Crispy Loaded Potato Cheese Sticks Recipe, turning simple potatoes into something savory and vibrant.
Step 3: Shape the Sticks
Take the mixture and form it into finger-sized sticks. Make sure they’re compact so they don’t fall apart while frying, but don’t press too hard because you want them to stay light and fluffy inside. This shaping is a fun way to get your hands a little messy and ready for the next step.
Step 4: Coat the Potato Sticks
First, dip each stick into beaten eggs, which helps the breading stick perfectly. Then roll them in all-purpose flour, dip again in the egg, and finally coat each in breadcrumbs. This triple coating ensures that legendary crunch you’re after when you bite in.
Step 5: Fry Until Golden Brown
Heat your oil to around 350°F (175°C) and fry the sticks until they’re that perfect golden brown color, about 3-4 minutes. Fry in batches so the oil temperature stays consistent, and place them on paper towels afterward to drain any excess oil. This frying step truly brings the Crispy Loaded Potato Cheese Sticks Recipe to life.
How to Serve Crispy Loaded Potato Cheese Sticks Recipe

Garnishes
A sprinkle of freshly chopped parsley or chives not only adds color but also a fresh note to balance out the richness. For a bit of extra kick, a dusting of smoked paprika or a few flakes of crushed red pepper work wonders. Don’t forget a generous dollop of sour cream or ranch on the side—that’s classic and irresistible.
Side Dishes
These cheese sticks pair beautifully with a crisp green salad or some tangy coleslaw to cut through the richness. If you’re serving them at a party, a variety of dips like spicy marinara, garlic aioli, or even a creamy jalapeño dip complement the flavors and keep everyone dipping back for more.
Creative Ways to Present
Want to impress your guests? Stack the cheese sticks in a rustic basket lined with parchment paper and serve alongside small bowls of your chosen dips. You can even create individual servings by placing a few sticks in small cups with dip at the bottom, perfect for casual gatherings or finger food at events.
Make Ahead and Storage
Storing Leftovers
If you happen to have leftovers of your Crispy Loaded Potato Cheese Sticks Recipe, store them in an airtight container in the refrigerator. They’ll keep well for up to 3 days, though they are best enjoyed fresh for maximum crispness.
Freezing
You can freeze these sticks before frying by placing them on a baking sheet to flash freeze. Once solid, transfer them to a freezer-safe bag or container. This makes it super convenient to enjoy your Crispy Loaded Potato Cheese Sticks Recipe anytime without starting from scratch.
Reheating
The best way to reheat your sticks and bring back their crispy exterior is in an oven or air fryer at 375°F (190°C) for about 10 minutes. Avoid microwaving, which can make the coating soggy and less satisfying.
FAQs
Can I use other types of cheese?
Absolutely! While cheddar cheese is classic, feel free to experiment with mozzarella for extra stretchiness, or pepper jack for a spicy kick. Just make sure the cheese melts well.
Is it necessary to deep fry, or can I bake them?
You can bake these sticks for a healthier alternative, but keep in mind the texture will be less crispy than frying. If baking, brush them lightly with oil and bake at 400°F (200°C) until golden and crisp.
How do I make sure the sticks don’t fall apart during frying?
Make sure your mixture isn’t too wet and press the sticks firmly when shaping. The coating layers also help keep the sticks together and maintain their shape while cooking.
Can I make these gluten-free?
Yes! Simply substitute regular flour and breadcrumbs with gluten-free alternatives, and these crispy treats remain just as delicious.
What’s the best dip for the Crispy Loaded Potato Cheese Sticks Recipe?
While ranch and sour cream are classic choices, spicy marinara or a creamy garlic aioli also pair beautifully. Pick your favorite or offer a variety for dipping fun.
Final Thoughts
If you’re searching for a snack or appetizer that brings all the comfort and crunch you could want, this Crispy Loaded Potato Cheese Sticks Recipe is an absolute winner. It’s a delicious crowd-pleaser that’s surprisingly easy to whip up and endlessly customizable. I encourage you to dive in, share with friends or family, and savor every delightfully crispy, cheesy bite.
Print
Crispy Loaded Potato Cheese Sticks Recipe
- Prep Time: 10 minutes
- Cook Time: 0 minutes
- Total Time: 10 minutes
- Yield: 12 servings
- Category: Dessert Frosting
- Method: No-Cook
- Cuisine: Russian
Description
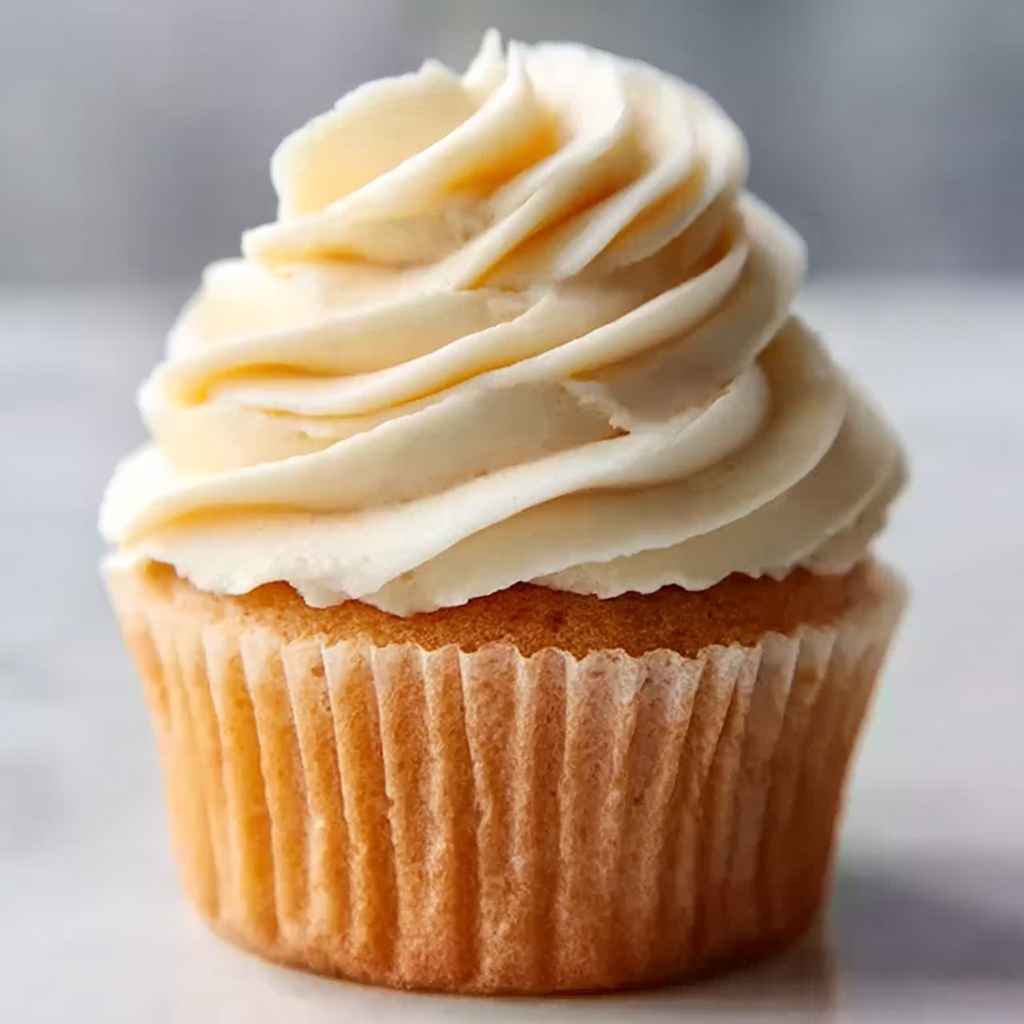
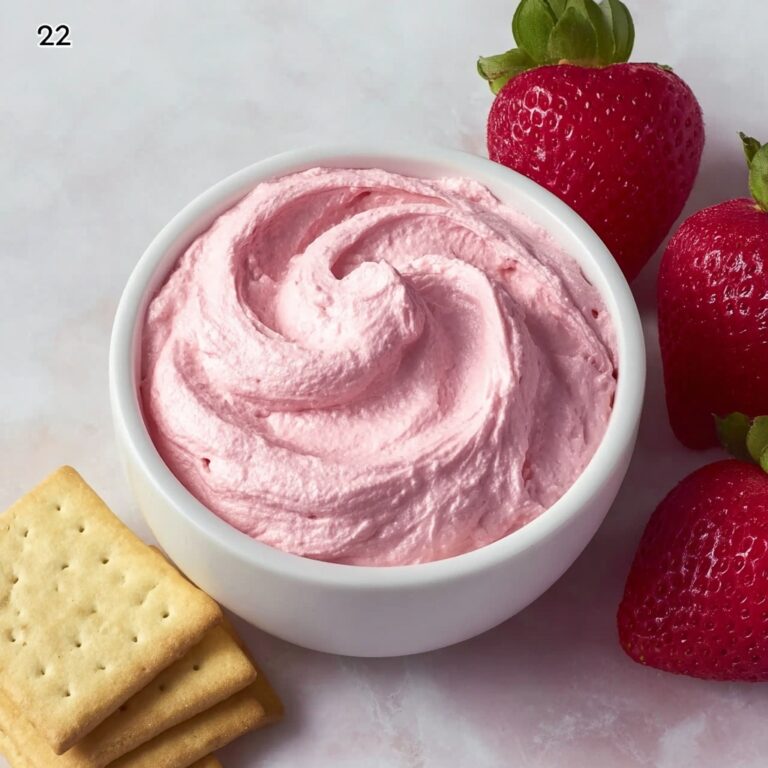
Perfect Russian Buttercream is a rich, creamy frosting made with a combination of unsalted butter and vegetable shortening, powdered sugar, vanilla extract, and a touch of heavy cream to achieve a smooth, fluffy texture. Ideal for cakes, cupcakes, and cookies, this classic buttercream is easy to prepare and provides a luscious, silky finish to your baked goods.
Ingredients
Buttercream Ingredients
- 1 cup unsalted butter, softened
- 1 cup vegetable shortening
- 2 cups powdered sugar, sifted
- 1 tablespoon vanilla extract
- 1/4 teaspoon salt
- 3–4 tablespoons heavy cream (or milk)
Instructions
- Beat Butter and Shortening: In a large mixing bowl, beat the butter and shortening together until smooth and creamy, about 2-3 minutes.
- Add Powdered Sugar: Gradually add the powdered sugar, approximately 1/4 cup at a time, beating well after each addition to integrate fully and avoid lumps.
- Add Flavorings: Mix in the vanilla extract and salt, beating until the mixture is completely combined and uniform in texture.
- Adjust Consistency: Slowly add the heavy cream one tablespoon at a time, continuing to beat after each addition until the buttercream reaches your desired consistency—thicker or softer based on preference.
- Final Whip: Beat the mixture for an additional 3-4 minutes until it becomes light, fluffy, and perfectly smooth, ready for decorating.
- Use or Store: Use the buttercream immediately to frost cakes, cupcakes, or cookies. Store any leftovers in an airtight container in the refrigerator for up to one week.
Notes
- For a dairy-free version, substitute heavy cream with a non-dairy milk or leave it out based on desired consistency.
- Sift powdered sugar before adding to avoid lumps in the frosting.
- Adjust the amount of heavy cream to reach your preferred frosting thickness.
- Bring butter and shortening to room temperature before starting for smoother mixing.
- Store buttercream in an airtight container refrigerated; bring to room temperature and beat again before use to restore texture.
