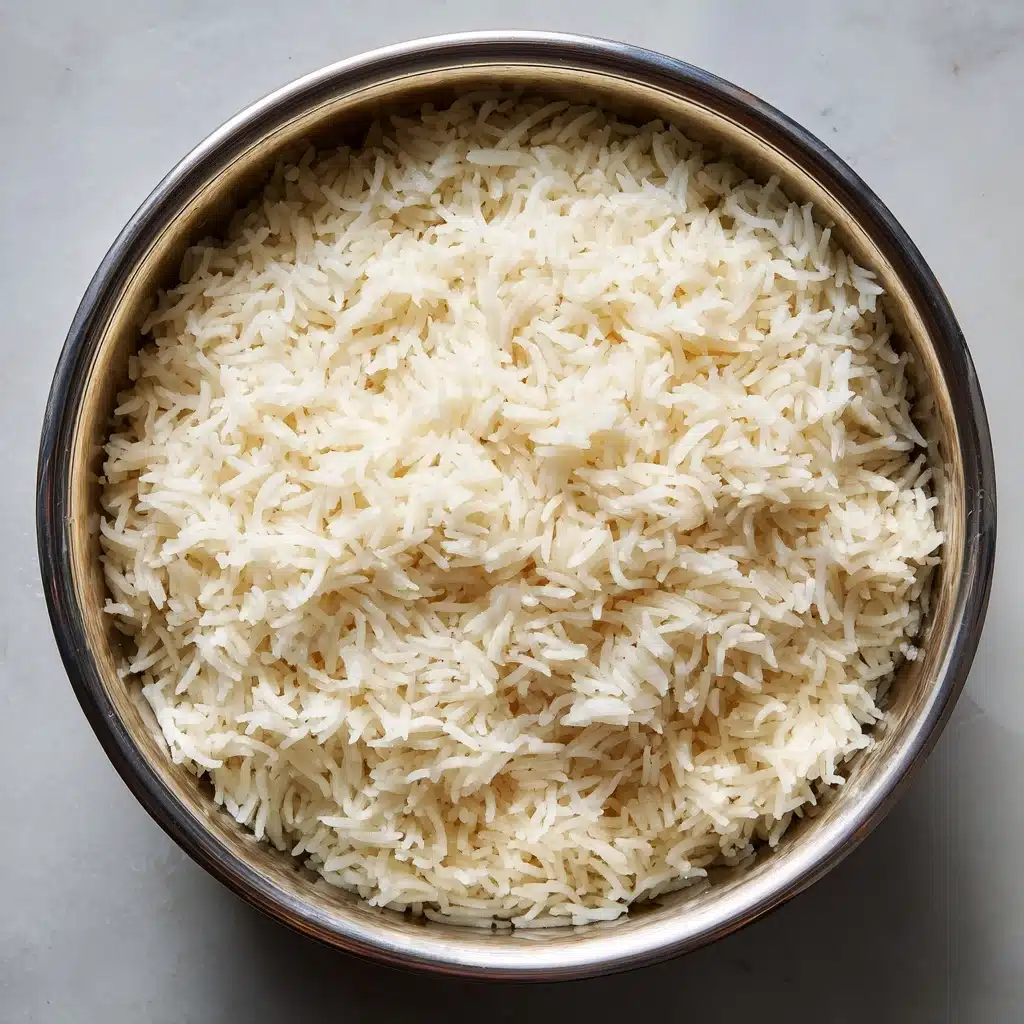
Instant Pot Coconut Rice Recipe
If you’re ready for the creamiest, most fragrant rice you’ve ever tasted, you’re about to fall in love with this Instant Pot Coconut Rice. Every fluffy grain is infused with luscious coconut flavor and a trace of sweetness, thanks to just a handful of simple ingredients and the hands-off magic of your Instant Pot. This is the perfect sidekick for curries, grilled meats, or anything with a hint of island flair. And the best part? You can have this dreamy rice on the table in under 20 minutes, with almost zero effort!
Ingredients You’ll Need
Each ingredient in this Instant Pot Coconut Rice earns its place, working together for a flawless balance of taste, fragrance, and creaminess. You’re truly just a few pantry staples away from a bowl of pure comfort.
- Jasmine rice: Choose long-grain jasmine rice for its exceptional aroma and delightfully tender texture.
- Full-fat canned coconut milk: This adds rich, creamy coconut flavor; be sure to shake the can well before opening!
- Water: Water helps the rice cook evenly, preventing it from getting too sticky or heavy.
- Sugar (optional): Just a tablespoon brings out the inherent sweetness of coconut; skip it if you prefer a more neutral rice.
- Salt: Balances the flavors and enhances both the coconut and the natural rice taste—don’t leave it out!
How to Make Instant Pot Coconut Rice
Step 1: Rinse the Jasmine Rice
Start by rinsing your jasmine rice thoroughly under cool running water. Swirl it around with your fingers and drain several times, until the water runs clear. This key step removes excess starch so your Instant Pot Coconut Rice turns out fluffy instead of mushy!
Step 2: Add Everything to the Pot
Add your well-drained rice directly into the Instant Pot. Pour in the coconut milk, water, sugar (if you’re using it), and salt. Give everything a gentle stir to make sure the rice is evenly distributed and all the coconut milk is mixed in. The aroma already hints at what’s coming!
Step 3: Pressure Cook
Seal the lid on your Instant Pot, and set the valve to “sealing” mode. Select High Pressure and set the timer for exactly 4 minutes. Once you hit start, you can step away and let the Instant Pot do its thing—the rice will cook to perfection!
Step 4: Natural Pressure Release
When the cook time finishes, let the Instant Pot sit undisturbed for 10 minutes. This gentle natural release helps the rice finish cooking and keeps the grains from breaking apart. After 10 minutes, switch the valve to release any lingering pressure.
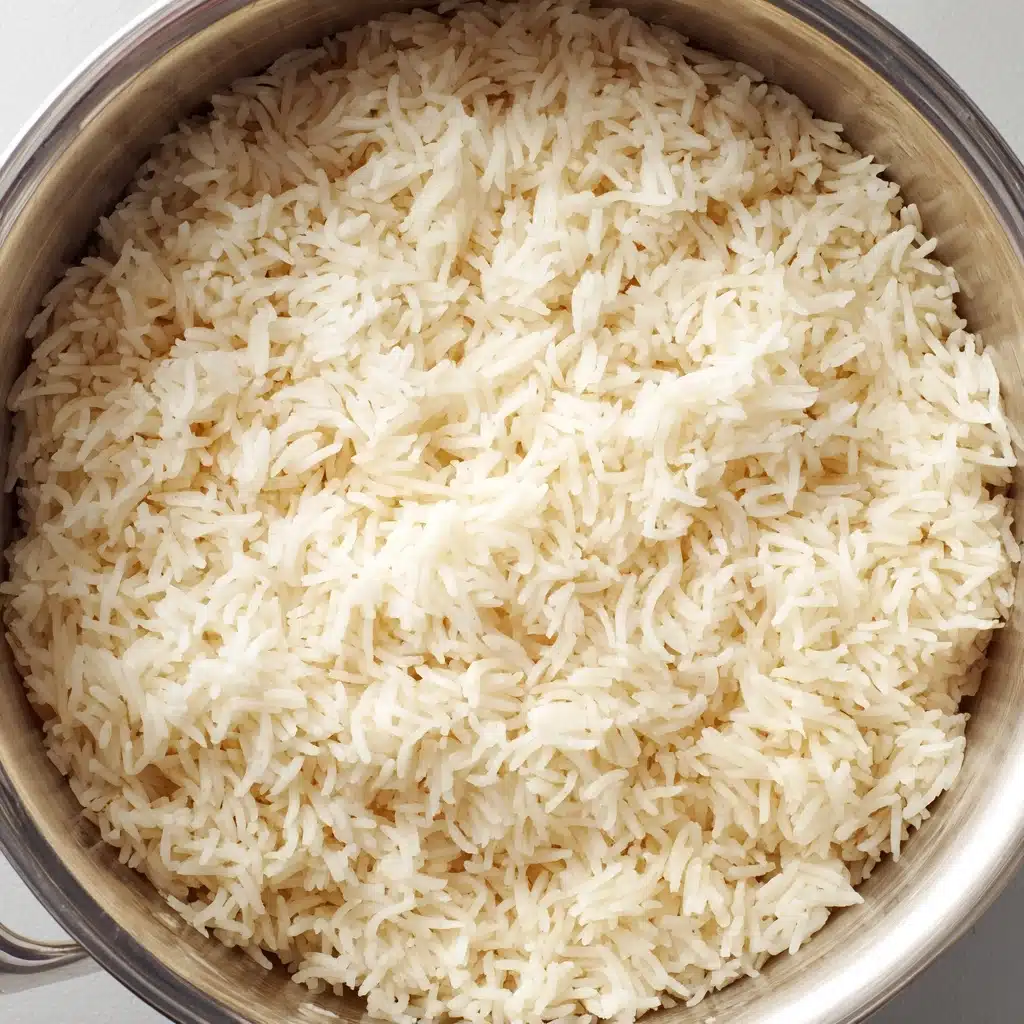
Step 5: Fluff and Serve
Open the lid, inhale that incredible coconut fragrance, and fluff the Instant Pot Coconut Rice with a fork. For a little extra magic, you can stir in a tablespoon of shredded coconut at this point. Serve while hot and enjoy every spoonful!
How to Serve Instant Pot Coconut Rice
Garnishes
A simple sprinkle of toasted coconut flakes or a scattering of chopped fresh cilantro can make your Instant Pot Coconut Rice look as stunning as it tastes. A quick squeeze of lime over the top gives a zesty pop and contrasts beautifully with the creamy coconut undertones.
Side Dishes
Pair your Instant Pot Coconut Rice with bold, saucy curries; it’s the dream companion for Thai green or red curry, coconut-based soups, spicy stir-fries, or grilled shrimp. It’s also fantastic next to jerk chicken, tropical salads, or mango salsa for a bright, sunny meal.
Creative Ways to Present
Use a small bowl to mold the rice into neat domes for each plate or serve it in a hollowed-out pineapple half for extra tropical flair. Tuck it into a bento box with colorful veggies, or top it with crispy shallots or sesame seeds for a delicious twist!
Make Ahead and Storage
Storing Leftovers
Let any leftover Instant Pot Coconut Rice cool completely, then transfer to an airtight container. It will stay fresh in the fridge for up to four days, making it perfect for building quick weeknight dinners or grain bowls!
Freezing
You can absolutely freeze coconut rice. Divide cooled rice into individual portions, place in freezer-safe bags or containers, and freeze for up to 2 months. Thaw overnight in the fridge before reheating for the best texture.
Reheating
To reheat, sprinkle a splash of water over the rice and microwave in 30-second bursts until hot, fluffing with a fork between each interval. For stovetop reheating, use a non-stick skillet over low heat with a tablespoon of coconut milk to restore moisture and keep the rice creamy.
FAQs
Can I use a different type Side Dish
You can substitute basmati or another long-grain white rice in a pinch, but jasmine rice really delivers the soft texture and aromatic flavor that makes this dish shine. If you use brown rice, you’ll need to adjust both the cooking time and liquid amounts.
Is it necessary to rinse the rice?
Yes, rinsing is important! Washing away excess starch keeps your Instant Pot Coconut Rice from turning sticky and ensures every grain stays distinct and fluffy.
Can I double the recipe?
Absolutely—just double all the ingredients, but keep the cooking time the same. The Instant Pot will take a bit longer to come to pressure, but your coconut rice will still be perfect!
Why did my rice turn out too soft or sticky?
Too much liquid or not rinsing the rice properly can result in softer, stickier rice. Always measure ingredients carefully and make sure to rinse the rice until the water runs clear for the best results.
What can I add for extra flavor?
For a flavor boost, stir in a handful of toasted shredded coconut or a squeeze of fresh lime after cooking. You can even add sliced green onions, a sprinkle of black sesame seeds, or chopped herbs to make your Instant Pot Coconut Rice your own!
Final Thoughts
This Instant Pot Coconut Rice is pure comfort in a bowl—easy, fragrant, and so versatile. Whether you’re a fan of bold curries or dreaming up your own tropical feast, give this recipe a try and discover just how irresistible homemade coconut rice can be!
Print
Instant Pot Coconut Rice Recipe
- Total Time: 19 minutes (including pressure build and release)
- Yield: 4 servings 1x
- Diet: Vegetarian
Description
This Instant Pot Coconut Rice recipe is a quick and easy way to enjoy a flavorful side dish with a hint of tropical coconut essence. Perfectly cooked jasmine rice infused with creamy coconut milk, this dish is a delightful addition to any meal.
Ingredients
Jasmine Rice:
- 2 cups jasmine rice, rinsed
Coconut Milk Mixture:
- 1 cup canned coconut milk (full fat)
- 1 ¼ cups water
- 1 tablespoon sugar (optional, for a lightly sweet flavor)
- ½ teaspoon salt
Instructions
- Rinse the Jasmine Rice: Rinse the jasmine rice under cold water until the water runs clear, then drain well.
- Cook in Instant Pot: Add the rinsed rice to the Instant Pot along with coconut milk, water, sugar (if using), and salt. Stir to combine. Secure the lid, set the valve to sealing, and cook on High Pressure for 4 minutes.
- Natural Pressure Release: Allow a natural pressure release for 10 minutes, then release any remaining pressure. Fluff the rice with a fork before serving.
Notes
- For extra flavor, stir in a tablespoon of shredded coconut after cooking.
- This rice pairs beautifully with curries, grilled meats, or tropical dishes.
- Prep Time: 5 minutes
- Cook Time: 4 minutes
- Category: Side Dish
- Method: Instant Pot
- Cuisine: Asian, Tropical
Nutrition
- Serving Size: ¾ cup
- Calories: 250
- Sugar: 2g
- Sodium: 200mg
- Fat: 8g
- Saturated Fat: 7g
- Unsaturated Fat: 1g
- Trans Fat: 0g
- Carbohydrates: 38g
- Fiber: 1g
- Protein: 4g
- Cholesterol: 0mg


