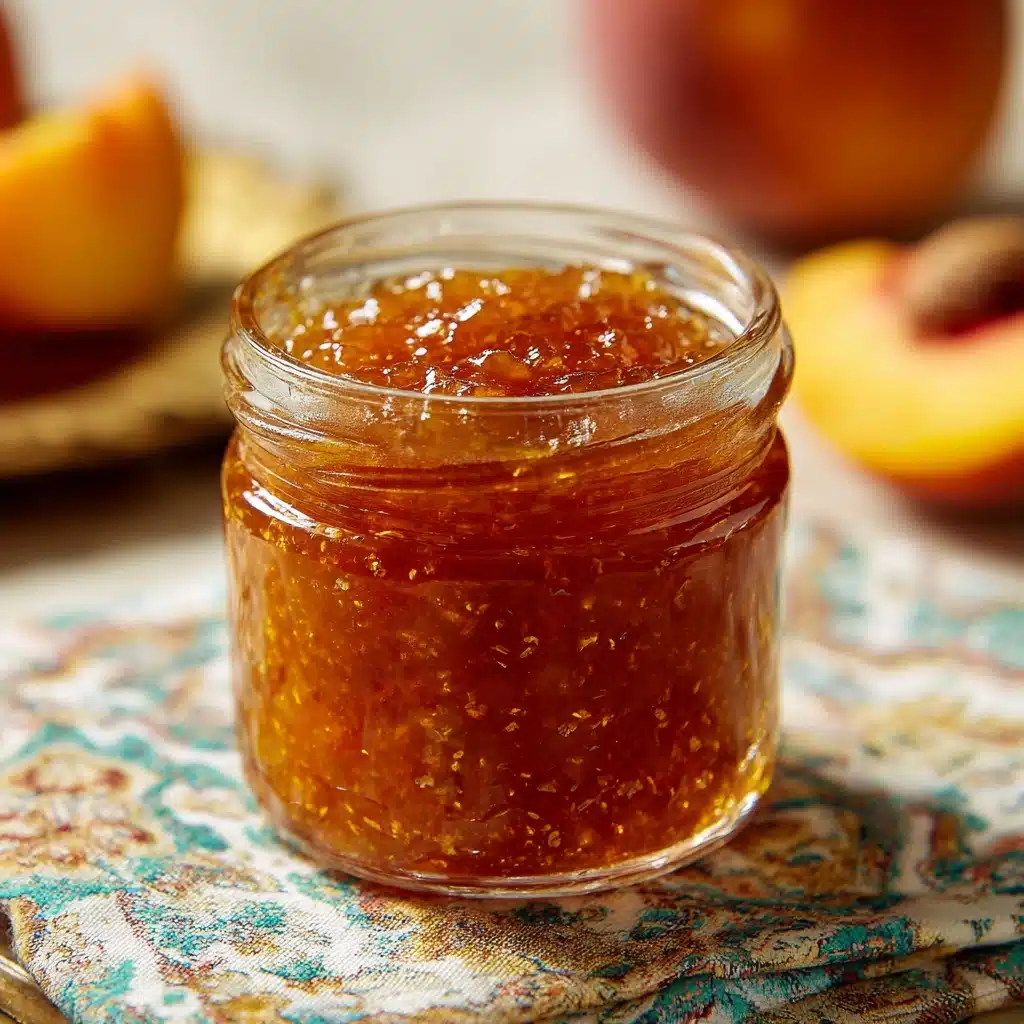
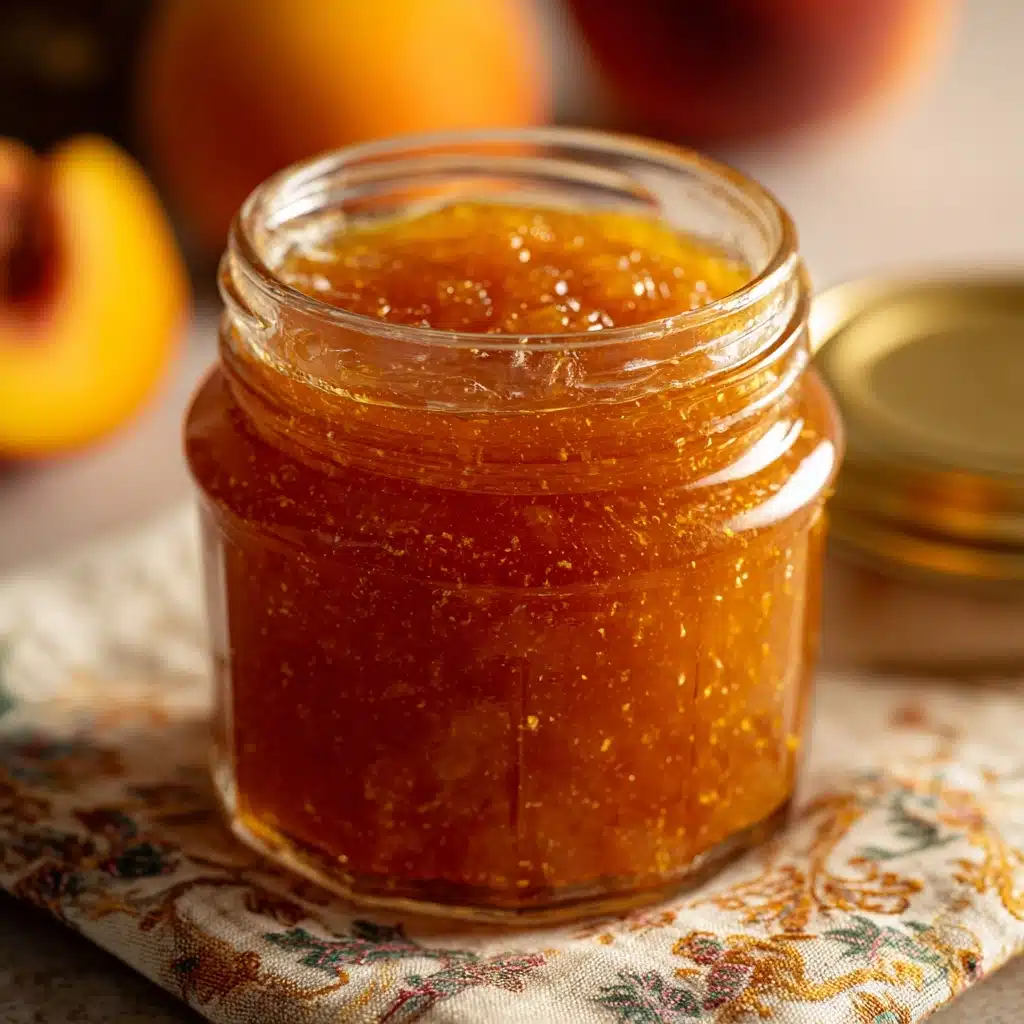
Yummy Small Batch Nectarine Jam Recipe
There’s something truly magical about homemade preserves bubbling away on your stovetop, and my all-time favorite is this Yummy Small Batch Nectarine Jam. With just a handful of fresh, vibrant ingredients, you’ll create a spoonable ray of summer sunshine that’s equally at home on morning toast or dolloped atop vanilla ice cream. Whether you’re new to making jam or just want a quick, rewarding project, this sweet and tangy preserve always delivers big fruity flavor in under half an hour!
Ingredients You’ll Need
The beauty of this recipe lies in its simplicity—every ingredient plays a starring role, contributing to the final jam’s bright color, perfect thickness, and irresistible flavor. Don’t skip or skimp: these key players make our Yummy Small Batch Nectarine Jam shine!
- Nectarines: Choose ripe, fragrant nectarines for unbeatable sweetness and summery aroma—peel them if you prefer a smoother texture, or leave the skin on for color and rustic charm.
- Granulated Sugar: Besides sweetening the jam, sugar helps set the perfect consistency while preserving the delicate fruit flavors.
- Lemon Juice: A splash of fresh lemon juice brightens the jam, enhances the fruit’s natural zing, and helps achieve a safe, longer-lasting preserve.
- Lemon Zest: The zest adds a wonderful citrusy perfume and brings extra depth to our jam, making every bite vibrant and fresh.
- Pinch of Salt: Just a tiny pinch balances the sweetness and intensifies the nectarine flavor—don’t underestimate its importance!
How to Make Yummy Small Batch Nectarine Jam
Step 1: Gather and Prep Your Ingredients
Start by giving your nectarines a good wash—peel them only if you want a silky-smooth jam, but honestly, I love the texture and blush of color the peel brings. Dice the fruit finely for faster, even cooking. This step lets you savor that sun-ripened aroma right from the start, setting the tone for an irresistible Yummy Small Batch Nectarine Jam.
Step 2: Combine Everything in a Saucepan
Place the chopped nectarines, sugar, lemon juice, lemon zest, and a pinch of salt in a medium saucepan. Stir the mixture together and soak in the colors—watching the sugar draw out the nectarines’ juices is like getting a sneak peek of the luscious jam to come!
Step 3: Dissolve Sugar and Soften Fruit
Warm the mixture on medium heat, stirring gently, just until the sugar fully dissolves and the fruit starts to break down and release its natural syrup—about 5 minutes. This is when your kitchen really starts to smell like homemade summer.
Step 4: Bring to a Gentle Boil and Cook
Turn the heat up just a notch and bring the jam to a gentle boil. Keep stirring often and let it cook for 15 to 20 minutes. The transformation from simple fruit and sugar to glossy, jewel-toned Yummy Small Batch Nectarine Jam is quick and satisfying! The mixture should thicken and coat the back of your spoon—almost like magic.
Step 5: Test for Set and Cool
To check if your jam is done, place a spoonful on a chilled plate and nudge it with your finger. If it wrinkles slightly, the jam is ready! Take the saucepan off the heat and let it cool for a few minutes before transferring it to a clean jar. This moment is always exciting: you’re just steps away from enjoying your homemade jam.
Step 6: Jar and Store
Once cooled a bit, spoon the jam into a sterilized jar and let it come to room temperature before sealing. The color deepens as it cools, promising beautiful, bold spoonfuls every time you open the jar over the next two weeks.
How to Serve Yummy Small Batch Nectarine Jam
Garnishes
A sprinkle of finely chopped fresh mint can lift the jam’s brightness, while a pinch of grated lemon zest on top looks gorgeous and amps up the citrus note. For a truly elegant touch, pair your Yummy Small Batch Nectarine Jam with edible flowers like violets or nasturtiums for special brunches or gifts.
Side Dishes
This jam is swoon-worthy on buttered toast, fluffy pancakes, or simple scones. It also makes a surprising companion to creamy brie, tangy goat cheese, or even layered in yogurt parfaits. If you’re feeling playful, try a dollop with roasted meats or as a sweet accent on a cheese platter at your next gathering!
Creative Ways to Present
Spoon your Yummy Small Batch Nectarine Jam into tiny jars tied with twine for adorable homemade gifts or party favors. Swirl a spoonful into oatmeal or chia pudding for a pop of summer color, or use it as a pretty glaze for baked goods like thumbprint cookies or fruit tarts. Presentation is part of the fun—let your creativity shine!
Make Ahead and Storage
Storing Leftovers
Keep your Yummy Small Batch Nectarine Jam fresh by storing it in a clean, airtight jar in the refrigerator. It will hold its flavor and texture beautifully for up to two weeks, letting you savor a bit of homemade sunshine anytime the craving hits!
Freezing
If you want to save your jam for later, spoon it into a freezer-safe container, leaving a little space at the top. Freeze for up to three months. To enjoy, thaw the container in the fridge overnight, and your jam is as delicious as the day you made it.
Reheating
Jam is happiest served straight from the fridge, but if you love it warm (say, as a topping for pancakes or ice cream), gently reheat a spoonful or two in a small saucepan or microwave for a few seconds—just until slightly loosened. Be careful not to overheat or it might lose its fresh flavor and glossy texture.
FAQs
Can I double the recipe for a larger batch?
Absolutely! Just keep in mind that doubling means a slightly longer cooking time. Stir often and use the wrinkle test to ensure your Yummy Small Batch Nectarine Jam reaches the perfect set.
Do I have to peel the nectarines?
You don’t have to! The peel softens as it cooks and adds gorgeous flecks of color. If you prefer a completely smooth jam, peeling is quick and easy—but I love the character unpeeled nectarines bring.
Is it possible to make this jam with less sugar?
Reducing the sugar will alter the texture and shelf life, but you can experiment. Just know your jam may be slightly looser and should be enjoyed within a week or so for the best taste and safety.
What can I do if my jam turns out too runny?
Don’t worry! Return the jam to the heat and cook a little longer, stirring often, until it thickens up. Next time, remember the wrinkle test on a cool plate—it’s very reliable for small batch jams.
Can I add other flavors or spices?
Definitely! A pinch of cinnamon, a splash of vanilla, or even a bit of fresh ginger can give your Yummy Small Batch Nectarine Jam a personal twist. Just add them toward the end of cooking to taste.
Final Thoughts
If you’re craving a quick kitchen win or hunting for that perfect homemade gift, give this Yummy Small Batch Nectarine Jam a try. It’s sweet, tangy, and endlessly versatile—plus, there’s nothing like the satisfaction of your very own jar of sunshine waiting in the fridge. Happy jamming!
Print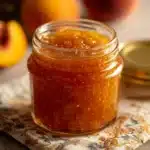
Yummy Small Batch Nectarine Jam Recipe
- Total Time: 30 minutes
- Yield: 1 cup 1x
- Diet: Vegan
Description
Learn how to make a delicious Small Batch Nectarine Jam that is perfect for spreading on toast or using in recipes. This easy-to-follow recipe yields a sweet and tangy jam bursting with fresh nectarine flavor.
Ingredients
Nectarine Jam:
- 2 cups finely chopped ripe nectarines (about 3 medium, peeled or unpeeled)
- 1 cup granulated sugar
- 1 tablespoon lemon juice
- 1/2 teaspoon lemon zest
- pinch of salt
Instructions
- Prepare the Jam: In a medium saucepan, combine the chopped nectarines, sugar, lemon juice, lemon zest, and a pinch of salt. Stir over medium heat until the sugar dissolves and the fruit starts to release its juices, about 5 minutes.
- Cook the Jam: Increase heat slightly and bring the mixture to a gentle boil. Continue to cook, stirring frequently, for 15–20 minutes or until the jam thickens and coats the back of a spoon.
- Check for Doneness: To test, place a small spoonful on a chilled plate—if it wrinkles when pushed, it’s ready.
- Finish and Store: Remove from heat and let cool slightly. Transfer to a clean jar and allow it to cool completely before sealing. Store in the refrigerator for up to 2 weeks.
Notes
- You can leave the peel on for added texture and color.
- Add a pinch of cinnamon or vanilla extract for extra flavor.
- This recipe can be doubled but may require a longer cook time.
- Prep Time: 10 minutes
- Cook Time: 20 minutes
- Category: Condiment
- Method: Stovetop
- Cuisine: American
Nutrition
- Serving Size: 1 tablespoon
- Calories: 35
- Sugar: 8g
- Sodium: 0mg
- Fat: 0g
- Saturated Fat: 0g
- Unsaturated Fat: 0g
- Trans Fat: 0g
- Carbohydrates: 9g
- Fiber: 0g
- Protein: 0g
- Cholesterol: 0mg


