Sourdough Starter Recipe
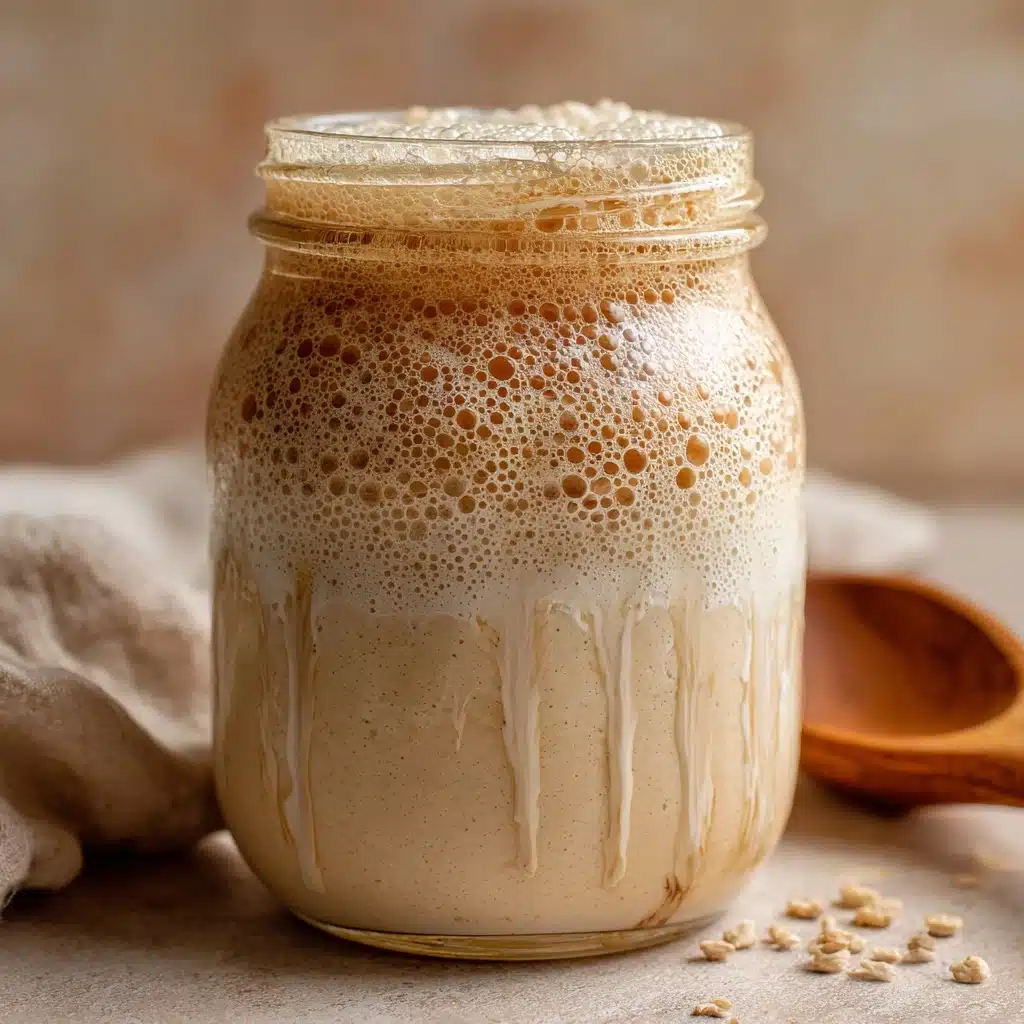
If you’ve ever dreamed of making tangy, wonderfully chewy homemade sourdough, your journey begins with a simple Sourdough Starter. This magical mixture of flour and water captures wild yeast from the air, setting the stage for bread that’s truly unique to your kitchen. With just two humble ingredients, you’ll create a living culture that powers countless delicious loaves and pastries—think of it as your secret weapon for irresistibly flavorful and rustic bakes.
Ingredients You’ll Need
-
Day 1:
- 1 cup (120g) whole wheat flour or all-purpose flour
- 1/2 cup (120ml) filtered or dechlorinated water
How to Make Sourdough Starter
Sourdough Starter Step 1: Day One Mix
Start by grabbing a clean glass jar or container. Mix together 1 cup (120g) of flour with 1/2 cup (120ml) of filtered water until you have a smooth, thick batter. Scrape down the sides to keep things tidy, and loosely cover the container with a lid or cloth to let your Sourdough Starter breathe. Now, set it aside in a cozy spot at room temperature—about 70°F is perfect—and let nature get to work for 24 hours.
Sourdough Starter Step 2: Feed and Wait
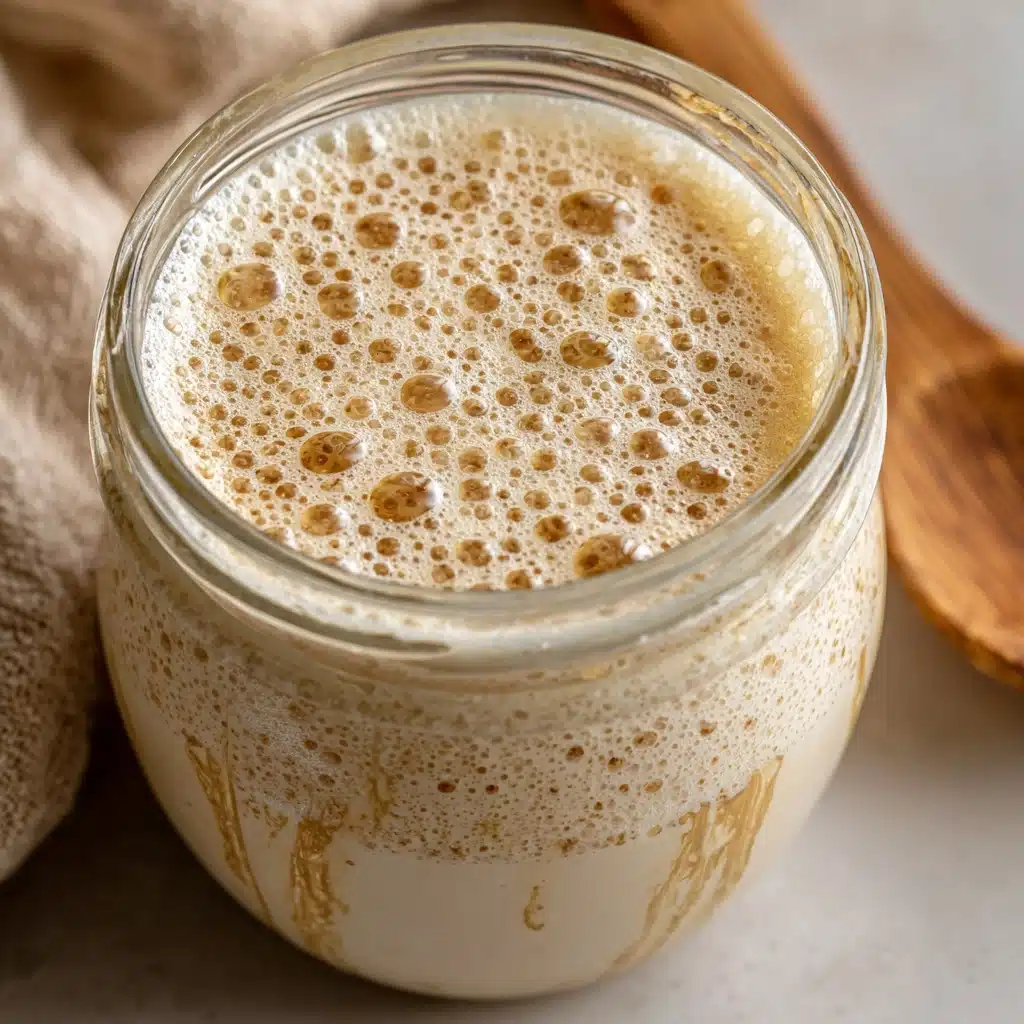
The next day, take a peek: you might notice a few bubbles or a slightly tangy fragrance starting to develop. This is a great sign! Discard half of your starter (roughly 1/2 cup), then feed what remains with another 1/2 cup flour and 1/4 cup water. Give it a thorough stir, cover as before, and pop it back onto the counter. Don’t worry if things look quiet—patience pays off!
Sourdough Starter Step 3: The Daily Ritual (Days 3–7)
Every day, repeat the feeding routine: discard half, add 1/2 cup flour and 1/4 cup water, and mix. Watch your Sourdough Starter come to life by days 4 or 5—it should start rising, bubbling, and taking on a more pronounced sour aroma. Around day 5, feel free to swap over entirely to all-purpose flour if you like; this creates a milder, more versatile starter for baking.
Sourdough Starter Step 4: Check for Readiness
Your Sourdough Starter is ready for action when it doubles in size within 4–6 hours of feeding, and it smells pleasantly tangy. If you poke it gently, it should feel light and airy beneath the bubbles. At this point, you can store it in the fridge, feeding it once a week, or keep it on the counter for daily bakers, making sure to maintain that regular feeding schedule.
How to Serve Sourdough Starter
Garnishes
Admittedly, you don’t “garnish” your Sourdough Starter itself, but the breads, pancakes, or crackers you make with it will sing when topped with toasted seeds, a dusting of flaky salt, or a swirl of cultured butter. Let your homemade sourdough be the elegant canvas for all your favorite finishes!
Side Dishes
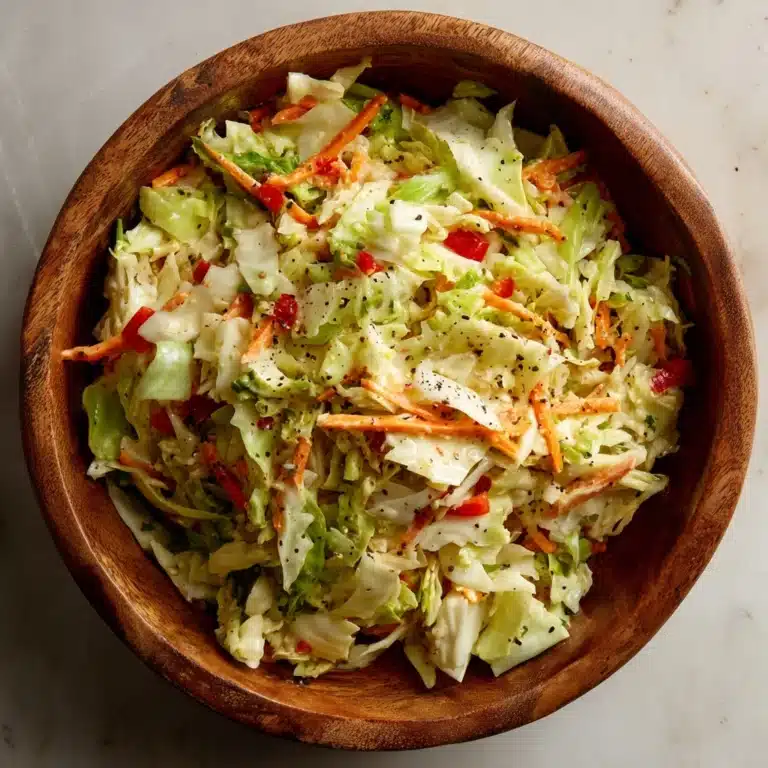
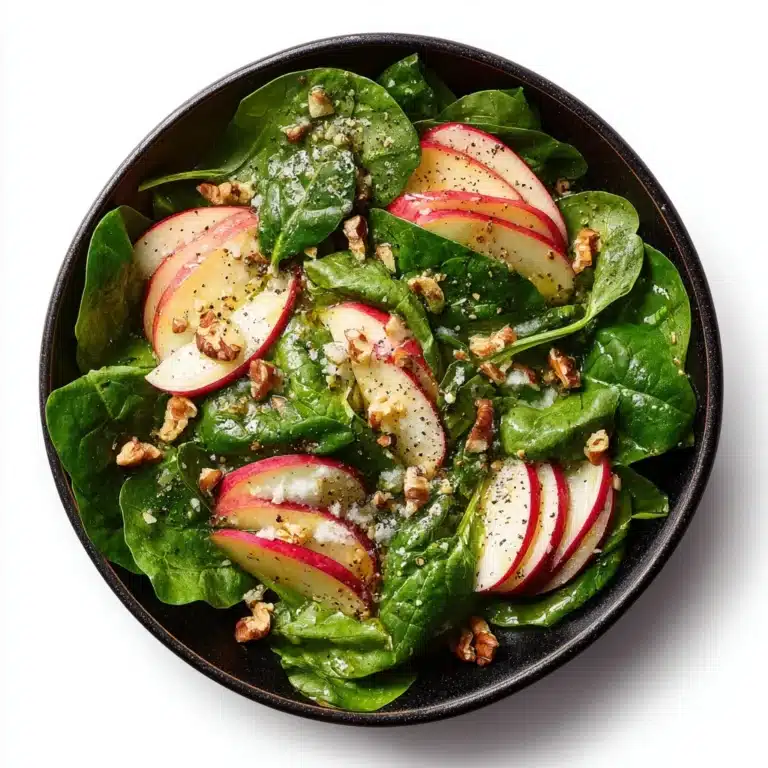
With a healthy, active Sourdough Starter, your freshly baked breads make a stellar companion to just about anything: a hearty bowl of soup, crisp salads piled high with seasonal veggies, or even oozy baked pasta dishes. There’s nothing like sopping up a stew or broth with a hunk of chewy, tangy sourdough!
Creative Ways to Present
Get playful and show off that Sourdough Starter magic! Bake your bread in Dutch ovens for crusty boules, shape adorable rolls for dinner parties, or use the discard in fluffy pancakes, savory crackers, or tender cookies. Share a jar of bubbly starter with a friend (with feeding instructions, of course!)—it’s a gift that keeps on giving.
Make Ahead and Storage
Storing Leftovers
Your Sourdough Starter is a living culture, so treat it with a little care. When you’re not baking, keep it in a clean jar in the refrigerator—just remember to “feed” it with fresh flour and water once a week, even when you’re taking a bread-baking break. Regular feedings will keep it robust and ready for whenever the mood to bake strikes.
Freezing
Need an extended break? You can freeze your Sourdough Starter! Feed it, let it bubble up for a few hours, then transfer some to an airtight container and freeze. When you’re ready to revive it, simply thaw in the fridge and resume regular feedings for a couple of days until active and bubbly again.
Reheating
Sourdough Starter itself doesn’t require reheating, but if you’ve stored sourdough bakes made with it, just pop slices in a toaster or oven to refresh them. Revive refrigerated starter by letting it come to room temperature and giving it a fresh feeding before use—this will wake up the yeast and get it in baking shape.
FAQs
Why isn’t my Sourdough Starter bubbling after a few days?
Don’t panic! Sometimes, depending on your flour, water, and kitchen temperature, wild yeast can take a little longer to spring into action. Make sure you’re using filtered water and giving daily feedings—a little extra patience usually does the trick.
Can I use tap water for my starter?
It’s best to avoid it, as chlorine and other additives can inhibit fermentation. Filtered or dechlorinated water gives your Sourdough Starter a much better chance of thriving, leading to more reliable bubbles and better bread texture.
What do I do with the discard?
Don’t toss it! Sourdough discard is fabulous in pancakes, waffles, crackers, and even brownies. There are tons of amazing recipes that let you stretch your Sourdough Starter magic even further and cut food waste at the same time.
How do I know if my starter has gone bad?
Trust your senses: if you see pink, orange, or fuzzy mold, or a strong, unpleasant odor (think gym socks rather than tangy yogurt), it’s safest to start over. A healthy Sourdough Starter smells pleasantly sour and fruity.
How often should I feed my starter?
If it lives on your counter, feed daily; if it’s hanging out in the fridge, a weekly feeding keeps it in top form. Warm kitchens might require more frequent feedings—just check for lots of bubbles and rising action as signs it’s happy.
Final Thoughts
There’s something incredibly rewarding about nurturing your own Sourdough Starter and transforming two simple ingredients into culinary magic. It takes just a few minutes a day and rewards you with a lifetime of amazing bread—so don’t hesitate to give it a try. You might just unlock your new favorite kitchen ritual!
Print
Sourdough Starter Recipe
- Total Time: 7 days
- Yield: About 1 cup of active starter 1x
- Diet: Vegan
Description
Learn how to create a lively sourdough starter from scratch with just two simple ingredients. This step-by-step guide will have you baking delicious sourdough bread in no time!
Ingredients
Day 1:
- 1 cup (120g) whole wheat flour or all-purpose flour
- 1/2 cup (120ml) filtered or dechlorinated water
Instructions
- Day 1: In a clean glass jar or container, mix 1 cup of flour with 1/2 cup of filtered water until smooth. Scrape down the sides, loosely cover, and let sit at room temperature for 24 hours.
- Day 2: Check for bubbles or a tangy smell. Discard half, then feed with 1/2 cup flour and 1/4 cup water. Stir well and cover again.
- Day 3–7: Continue feeding every 24 hours. Starter should rise and develop a sour aroma. Switch to all-purpose flour by day 5.
- Ready to Use: When it doubles in size within 4–6 hours and smells tangy, it’s ready. Keep in the fridge and feed weekly or daily if baking often.
Notes
- Use filtered water for best results.
- Always feed with equal weights of flour and water.
- Consider twice-daily feedings in warm environments.
- Prep Time: 5 minutes daily
- Cook Time: 0 minutes
- Category: Basics
- Method: Fermentation
- Cuisine: Traditional
Nutrition
- Serving Size: 1 tablespoon
- Calories: 35
- Sugar: 0g
- Sodium: 0mg
- Fat: 0g
- Saturated Fat: 0g
- Unsaturated Fat: 0g
- Trans Fat: 0g
- Carbohydrates: 8g
- Fiber: 0.5g
- Protein: 1g
- Cholesterol: 0mg


