Nanaimo Bars Recipe
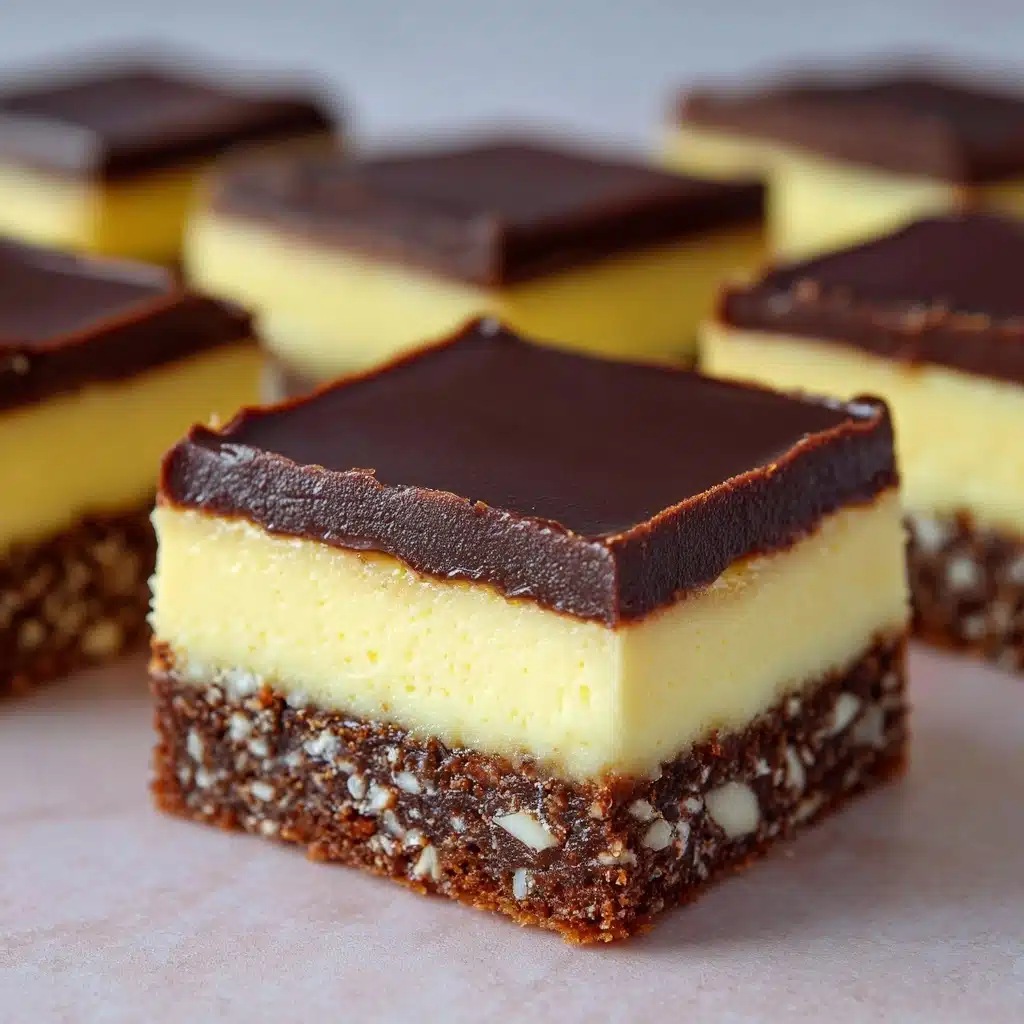
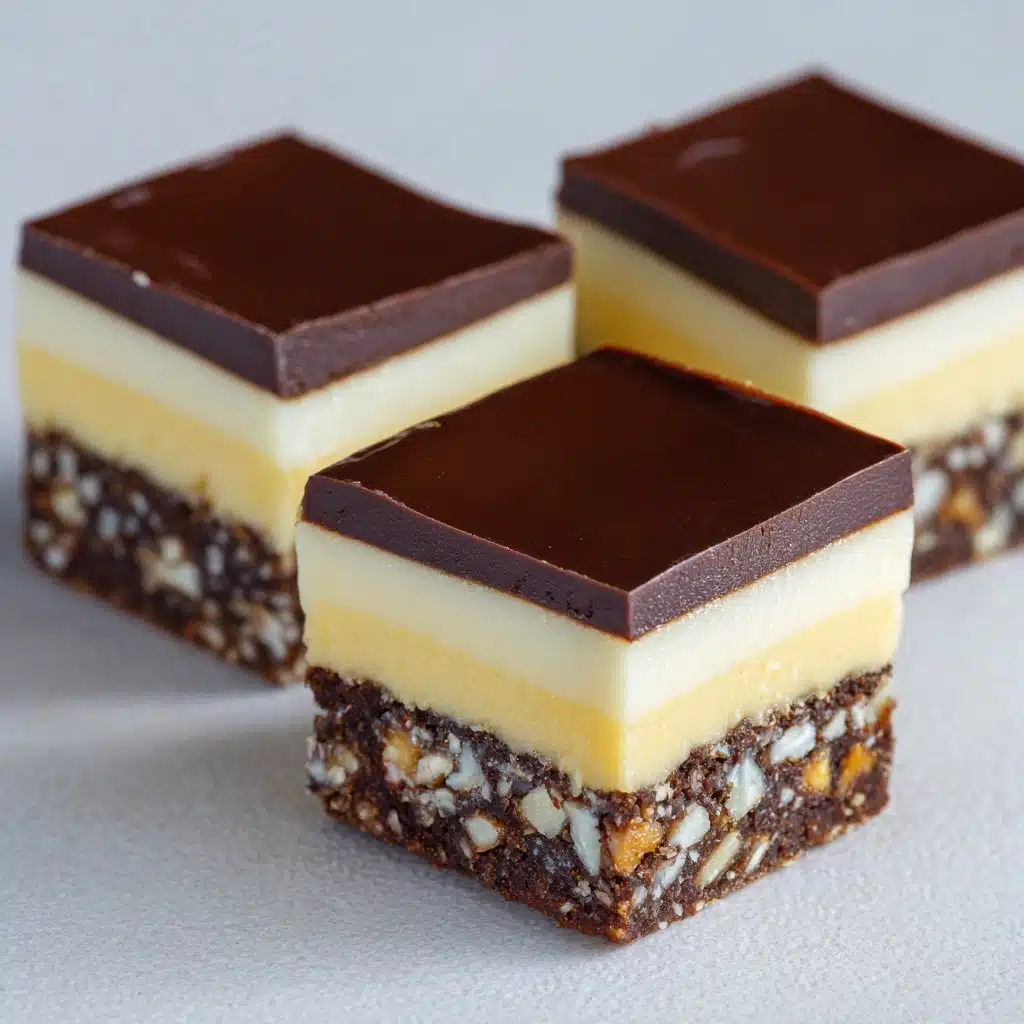
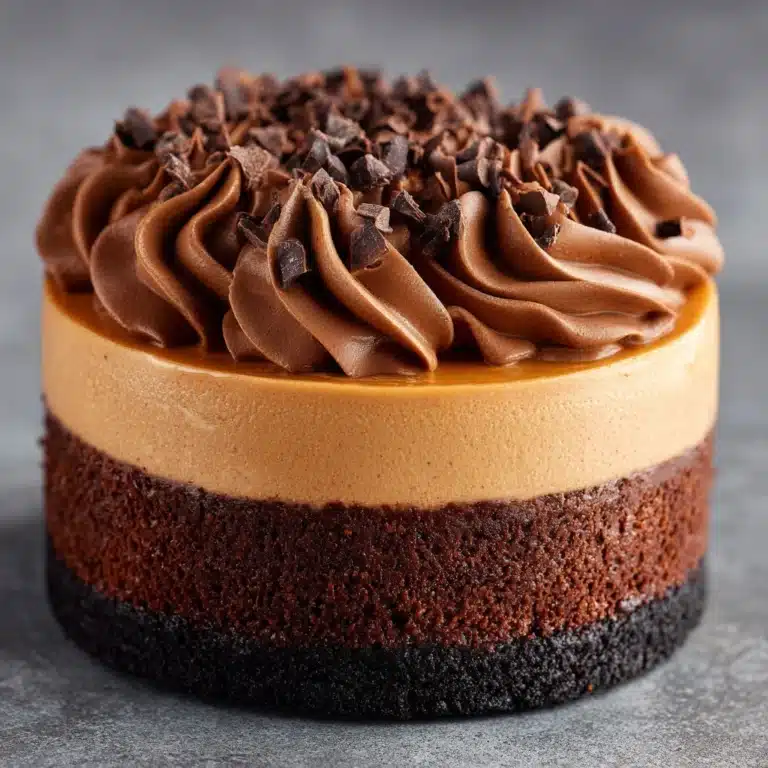
If there’s one treat that instantly transports me back to cozy family gatherings and festive celebrations, it’s this irresistible Nanaimo Bars Recipe. Named after the picturesque city of Nanaimo in British Columbia, these no-bake bars boast three dreamy layers: a chocolate-coconut-graham cracker base, a velvety custard middle, and a glossy chocolate top. Each bite is a symphony of textures and flavors, making them a hit at parties, potlucks, or whenever your sweet tooth strikes!
Ingredients You’ll Need
The beauty of this Nanaimo Bars Recipe lies in its simple yet essential ingredients. Each one plays a starring role in creating the signature taste, luscious texture, and inviting appearance that make these bars so special.
- Unsalted butter (base, custard, chocolate layers): Adds creamy richness and helps bind each layer together for the ultimate melt-in-your-mouth experience.
- Granulated sugar: Sweetens the base and balances the deep cocoa notes.
- Unsweetened cocoa powder: Provides that classic chocolate flavor and a hint of bitterness to keep things from getting too sweet.
- Large egg: Sets the base so it holds together with a light, chewy texture.
- Graham cracker crumbs: Bring a subtle crunch and a toasty backdrop for the chocolate and coconut.
- Shredded sweetened coconut: Offers a chewy bite and a hint of tropical sweetness.
- Chopped walnuts or almonds (optional): Lend extra crunch and a nutty flavor that pairs beautifully with the other layers.
- Vanilla custard powder (or instant vanilla pudding mix): This is the secret to the classic yellow custard layer—don’t skip it if you want that authentic flavor!
- Powdered sugar: Makes the custard layer sweet and smooth, without any graininess.
- Milk: Just enough to bring the custard filling together and make it creamy.
- Semi-sweet chocolate: The perfect balance between rich and sweet for the glossy top layer.
How to Make Nanaimo Bars Recipe
Step 1: Prepare the Base Layer
Begin by melting butter, sugar, and cocoa powder together in a medium saucepan over low heat. Stir until everything is silky-smooth and smells chocolatey. Slowly whisk in the beaten egg, cooking and stirring constantly until the mixture thickens just a bit—this takes 1 to 2 minutes, so don’t walk away! Remove from the heat, then add graham cracker crumbs, coconut, and nuts (if you like a little crunch). Press this mixture firmly into a parchment-lined 8×8-inch pan, smoothing it into an even layer. Pop it in the fridge while you move on to the custard layer.
Step 2: Make the Custard Layer
In a large bowl, beat together the softened butter, custard powder (or instant pudding mix), powdered sugar, and milk. The goal here is a thick, creamy, pale-yellow filling with no lumps—take your time to get it just right. Once your base layer is nicely chilled, gently spread the custard filling over the top. Make sure it’s even, then slide the pan back into the fridge to chill for at least 30 minutes. This helps the custard firm up so the next layer goes on smoothly.
Step 3: Prepare the Chocolate Layer
Now for the grand finale! In a microwave-safe bowl, melt the chopped semi-sweet chocolate and butter together in 30-second bursts, stirring between each. Once the mixture is glossy and lump-free, let it cool for a minute or two—this prevents it from melting the custard. Pour the chocolate over the custard layer, tilting the pan or using a spatula to spread it evenly. Chill again until the chocolate is set, about 30 minutes.
Step 4: Slice and Serve
Once the chocolate is firm, carefully lift the bars from the pan using the parchment. For picture-perfect slices, run a sharp knife under hot water, wipe dry, and cut into small squares, cleaning the blade between cuts. The layers should be distinct, and the bars will look as good as they taste!
How to Serve Nanaimo Bars Recipe
Garnishes
The classic Nanaimo Bars Recipe needs little embellishment, but a sprinkle of toasted coconut or a dusting of cocoa powder on top adds a touch of elegance. For an extra flourish, try a drizzle of melted white chocolate or a few shavings of dark chocolate just before serving.
Side Dishes
These bars are rich and indulgent, so they pair beautifully with something simple. A cup of freshly brewed coffee, a mug of hot tea, or even a glass of cold milk makes the perfect companion. For a dessert platter, serve alongside fresh berries or a light fruit salad to balance the sweetness.
Creative Ways to Present
For parties, cut the Nanaimo Bars Recipe into bite-sized pieces and arrange them on a tiered dessert stand. You can also shape them into small rectangles and dip one end in extra melted chocolate for a fun twist. If you’re feeling fancy, serve each bar in a mini paper liner for a polished look at showers or holiday gatherings.
Make Ahead and Storage
Storing Leftovers
Once the bars are fully set, store them in an airtight container in the refrigerator. They’ll stay fresh for up to a week, making them a fantastic make-ahead treat for busy days or entertaining.
Freezing
The Nanaimo Bars Recipe freezes beautifully! Place cut bars in a single layer on a baking sheet, freeze until firm, then transfer to a freezer-safe container with parchment between the layers. They’ll keep for up to three months—just thaw in the fridge before serving.
Reheating
These bars are best enjoyed chilled or at room temperature, so there’s no need to reheat. If they’ve been in the freezer, let them thaw overnight in the fridge or for about 30 minutes at room temperature before serving.
FAQs
What can I use if I don’t have custard powder?
If custard powder isn’t available, instant vanilla pudding mix makes a great substitute. It delivers a similar creamy texture and vanilla flavor, so your Nanaimo Bars Recipe will still taste authentic.
Can I make these bars nut-free?
Absolutely! Simply leave out the chopped walnuts or almonds in the base layer. The bars will still be delicious and safe for anyone with nut allergies.
How do I keep the chocolate layer from cracking when slicing?
To get clean cuts, use a sharp knife dipped in hot water and wiped dry between each slice. This melts through the chocolate gently, preventing cracks and keeping those gorgeous layers intact.
Can I double the Nanaimo Bars Recipe for a crowd?
Definitely! Just double all the ingredients and use a 9×13-inch pan. The bars will be a bit thicker but just as scrumptious—perfect for parties or potlucks.
What’s the best way to transport Nanaimo Bars?
After chilling and cutting, place the bars in a single layer in a sturdy container. Separate layers with parchment paper to prevent sticking. Keep them cool during transport, especially on warm days, to preserve the chocolate top.
Final Thoughts
If you’re looking for a dessert that’s both show-stopping and incredibly easy to make, this Nanaimo Bars Recipe truly delivers. I can’t wait for you to try it and share these classic Canadian treats with your loved ones. Happy no-baking!
Print
Nanaimo Bars Recipe
- Total Time: 1 hour (including chilling time)
- Yield: 16 bars 1x
- Diet: Non-Vegetarian
Description
Nanaimo Bars are a classic Canadian no-bake layered dessert featuring a rich, crumbly base topped with a smooth custard layer and finished with a glossy chocolate ganache. These bars combine textures and flavors beautifully, making them a delicious treat perfect for any occasion.
Ingredients
Base Layer:
- 1/2 cup unsalted butter (melted)
- 1/4 cup granulated sugar
- 5 tablespoons unsweetened cocoa powder
- 1 large egg (beaten)
- 1 3/4 cups graham cracker crumbs
- 1 cup shredded sweetened coconut
- 1/2 cup chopped walnuts or almonds (optional)
Custard Layer:
- 1/2 cup unsalted butter (softened)
- 2 tablespoons vanilla custard powder (or instant vanilla pudding mix)
- 2 cups powdered sugar
- 2 tablespoons milk
Chocolate Layer:
- 4 oz semi-sweet chocolate (chopped)
- 2 tablespoons unsalted butter
Instructions
- Prepare the base: In a medium saucepan over low heat, combine melted butter, sugar, and cocoa powder. Stir until smooth. Slowly whisk in the beaten egg and cook, stirring constantly, until the mixture thickens slightly, about 1–2 minutes. Remove from heat. Stir in graham cracker crumbs, shredded coconut, and chopped nuts if using. Press the mixture firmly into the bottom of a parchment-lined 8×8-inch pan. Chill in the refrigerator while you make the custard layer.
- Make the custard layer: In a large bowl, beat the softened butter, custard powder, powdered sugar, and milk together until smooth and creamy. Evenly spread this mixture over the chilled base layer. Return the pan to the fridge and chill for at least 30 minutes until firm.
- Prepare the chocolate layer: Melt the chocolate and butter together in a microwave-safe bowl in 30-second intervals, stirring between each until smooth. Let cool slightly, then pour over the custard layer. Tilt the pan to evenly coat or spread with a spatula. Chill again until the chocolate is set, about 30 minutes.
- Slice and serve: Use a sharp, warm knife to slice the bars into 16 small squares, wiping the knife between cuts for clean edges. Serve chilled and enjoy!
Notes
- Use a hot knife to slice cleanly through the chocolate layer without cracking.
- These bars store well in the fridge for up to a week or can be frozen for longer storage.
- Custard powder gives these bars their signature flavor, but instant pudding mix works well as a substitute in a pinch.
- Prep Time: 25 minutes
- Cook Time: 5 minutes
- Category: Dessert
- Method: No-Bake
- Cuisine: Canadian
Nutrition
- Serving Size: 1 bar
- Calories: 290
- Sugar: 22g
- Sodium: 95mg
- Fat: 18g
- Saturated Fat: 11g
- Unsaturated Fat: 6g
- Trans Fat: 0g
- Carbohydrates: 30g
- Fiber: 2g
- Protein: 2g
- Cholesterol: 35mg
