Grilled Cheeseburger Wraps Recipe
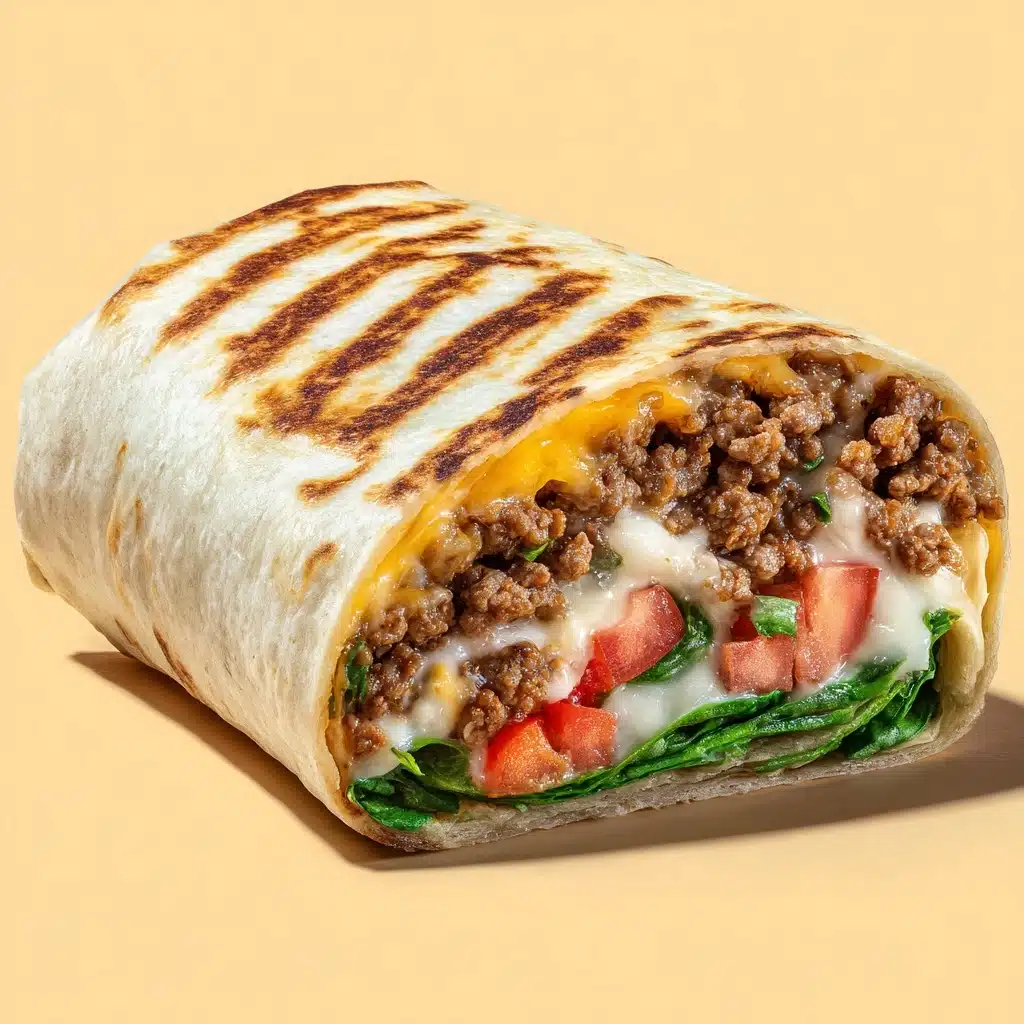
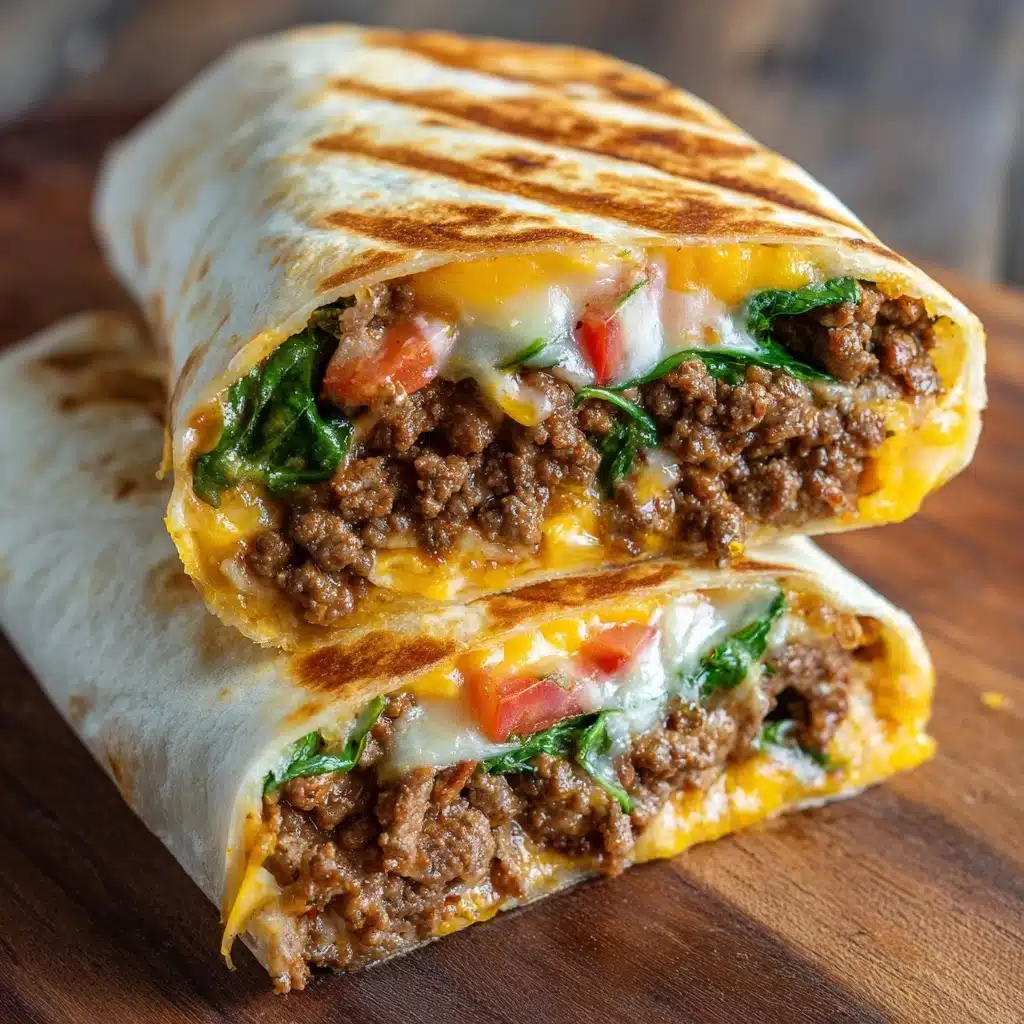
Imagine all the cheesy, savory goodness of a classic cheeseburger, neatly tucked into a golden, crispy tortilla for the ultimate handheld delight. That’s what you’ll discover with Grilled Cheeseburger Wraps! They bring together juicy ground beef, melty cheddar, fresh toppings, and just a touch of tangy sauce, all grilled to perfection for an exciting twist on your burger night routine.
Ingredients You’ll Need
The beauty of Grilled Cheeseburger Wraps is how a handful of familiar, everyday ingredients can deliver such big, comforting flavors. Each one plays a starring role in creating layers of texture and taste that truly pop in every bite.
- Ground beef (1 pound): Use an 80/20 blend for juicy, flavorful burger filling that holds together well.
- Salt (1/2 teaspoon): Enhances all the savory notes in the meat and gives balance to the other seasonings.
- Black pepper (1/4 teaspoon): Adds a gentle warmth and classic burger finish.
- Garlic powder (1/2 teaspoon): Lends aromatic depth without overpowering the beef.
- Ketchup (1/4 cup): Gives the wrap its signature, barely-sweet burger tang.
- Yellow mustard (1 tablespoon): Brightens everything up with a little zing.
- Worcestershire sauce (1 tablespoon): Delivers an umami punch and extra savoriness.
- Shredded cheddar cheese (1 cup): Melts into the beef for that essential gooey-cheesy pull.
- Large flour tortillas, burrito size (4): The perfect canvas to wrap up all your burger-inspired fillings.
- Diced pickles (1/2 cup): Brings a pop of acidity and crunch to cut through the richness.
- Shredded lettuce (1/2 cup): Adds freshness, color, and satisfying crispiness.
- Diced onions (1/4 cup): Classic burger bite and a little bit of sweet heat.
- Olive oil (1 tablespoon): For grilling the wraps to a beautifully golden, crispy finish.
How to Make Grilled Cheeseburger Wraps
Step 1: Cook the Burger Filling
Start by heating a large skillet over medium heat. Add the ground beef and break it up as it cooks, stirring occasionally until beautifully browned and cooked through. This process builds all the juicy, caramelized flavor at the heart of your Grilled Cheeseburger Wraps. Once cooked, drain away any excess grease so your filling isn’t soggy.
Step 2: Season and Sauce
With your beef still in the skillet, sprinkle in the salt, black pepper, and garlic powder. Next, stir in the ketchup, yellow mustard, and Worcestershire sauce, blending everything together until it’s fully combined. Let the mixture simmer for 2 to 3 minutes so the flavors have a chance to meld and thicken up just a touch.
Step 3: Add the Cheese
Remove the skillet from the heat and immediately sprinkle over the shredded cheddar cheese. Gently stir it in so that it melts into the warm, savory beef — this gives the signature cheeseburger taste and turns the beef into a cohesive, creamy filling for your wraps.
Step 4: Build the Wraps
Lay out each flour tortilla on a flat surface. Divide the beef and cheese mixture evenly between the tortillas, creating a line down the center of each. Top with diced pickles, shredded lettuce, and diced onions for that true cheeseburger atmosphere. Remember, don’t overload — you want to be able to wrap and seal!
Step 5: Roll and Wrap
Fold in the sides of each tortilla, then roll tightly from the bottom up, creating a snug burrito-style wrap. This step ensures nothing escapes and every bite is filled with a perfect ratio of meat, cheese, and fresh toppings.
Step 6: Grill to Perfection
Heat the olive oil in a clean skillet over medium heat. Place each wrap seam-side down in the skillet, pressing gently. Grill for 2 to 3 minutes per side until the tortillas are golden brown and crispy. This grilling not only locks everything together but also delivers an irresistible crunch that makes Grilled Cheeseburger Wraps so crave-worthy.
How to Serve Grilled Cheeseburger Wraps
Garnishes
To really make your Grilled Cheeseburger Wraps pop, finish them with a dusting of extra shredded cheese, a handful of finely chopped pickles, or a sprinkle of fresh parsley for color. Small bowls of ketchup, mustard, or a creamy burger sauce on the side invite everyone to dip and dunk to their heart’s content.
Side Dishes
Serve these wraps with classic sides like crispy French fries, sweet potato wedges, or a cool, zesty coleslaw. A pile of crunchy dill pickles or a fresh corn salad also brings that backyard burger mood to your table, making Grilled Cheeseburger Wraps feel like a full meal in one fun package.
Creative Ways to Present
If you want to dial up the wow-factor, slice each wrap on the diagonal and arrange them on a large platter, toothpicks at the ready. They look fantastic as an easy, crowd-pleasing appetizer for game day or family parties. You can even offer a DIY wrap bar, letting guests pick and mix their own toppings for a fun, interactive dinner.
Make Ahead and Storage
Storing Leftovers
Should you have extra Grilled Cheeseburger Wraps (which is a rarity in my house!), keep them wrapped tightly in foil or an airtight container in the fridge. They’ll stay fresh for up to 3 days, making them an awesome grab-and-go lunch or quick dinner option.
Freezing
Want to prep ahead? Cool the wraps completely, then tightly wrap each in plastic wrap and foil. Pop them in a freezer-safe bag and freeze for up to a month. Thaw overnight in the fridge before reheating, so the texture stays just right.
Reheating
The best way to bring Grilled Cheeseburger Wraps back to their crispy glory is to reheat them in a skillet over low heat, turning until warmed through and the tortilla regains its crunch. Alternatively, a few minutes in a 350°F oven works perfectly. Avoid the microwave if you can, as it can make the wraps a little too soft for my liking.
FAQs
Can I make Grilled Cheeseburger Wraps ahead for meal prep?
Absolutely! Cook the beef mixture and assemble the wraps up to a day in advance. Store them in the fridge, then simply grill right before serving. They’re unbeatable for packed lunches or weeknight dinners on the fly.
What type Main Course
Cheddar is my go-to for that classic, melty bite, but feel free to swap in Monterey Jack, Swiss, or a spicy pepper jack if you like a little heat. Even a blend of cheeses works great to personalize each wrap.
Can I make these wraps gluten free?
Definitely! Use gluten-free tortillas in place of regular flour tortillas, and double-check that your Worcestershire sauce is certified gluten free. Everything else in the Grilled Cheeseburger Wraps recipe is naturally gluten free.
Are Grilled Cheeseburger Wraps kid-friendly?
Kids absolutely love them! The flavors are familiar and fun, and you can customize ingredients to fit every picky eater’s taste. Try letting little hands help with adding their favorite toppings for extra mealtime excitement.
How do I keep the wraps from getting soggy?
For best results, make sure the beef mixture isn’t too wet by simmering off extra liquid and draining well before assembling. Grilling the tortillas gives a lovely barrier that keeps everything crisp, even after storing for a day.
Final Thoughts
I hope you feel inspired to bring Grilled Cheeseburger Wraps to your table soon! They’re fun, satisfying, and incredibly easy to love, no matter the occasion. Give them a try, and I have a feeling they’ll become a new favorite in your kitchen, too.
Print
Grilled Cheeseburger Wraps Recipe
- Total Time: 25 minutes
- Yield: 4 wraps 1x
- Diet: Non-Vegetarian
Description
These Grilled Cheeseburger Wraps are a fun twist on traditional cheeseburgers. Seasoned ground beef, melted cheddar cheese, and classic burger toppings are wrapped in a flour tortilla and grilled to crispy perfection. Perfect for a quick and tasty meal!
Ingredients
For the Beef:
- 1 pound ground beef
- 1/2 teaspoon salt
- 1/4 teaspoon black pepper
- 1/2 teaspoon garlic powder
- 1/4 cup ketchup
- 1 tablespoon yellow mustard
- 1 tablespoon Worcestershire sauce
- 1 cup shredded cheddar cheese
For the Wraps:
- 4 large flour tortillas (burrito size)
- 1/2 cup diced pickles
- 1/2 cup shredded lettuce
- 1/4 cup diced onions
- 1 tablespoon olive oil (for grilling)
Instructions
- Cook the Beef: In a skillet over medium heat, cook the ground beef until browned and fully cooked. Drain any excess grease.
- Season and Simmer: Add salt, pepper, garlic powder, ketchup, mustard, and Worcestershire sauce. Stir to combine and let simmer for 2–3 minutes.
- Melt the Cheese: Remove from heat and stir in the shredded cheese until melted.
- Assemble the Wraps: Lay out the tortillas and divide the beef mixture evenly among them. Top each with pickles, lettuce, and diced onions. Fold in the sides of the tortilla and roll tightly into a wrap.
- Grill: Heat olive oil in a clean skillet over medium heat and place each wrap seam-side down. Grill for 2–3 minutes per side, or until golden brown and crispy.
- Serve: Serve warm with extra ketchup or dipping sauce if desired.
Notes
- You can customize with bacon, tomato slices, or different cheeses.
- To make ahead, prepare and refrigerate the wraps, then grill just before serving.
- Prep Time: 10 minutes
- Cook Time: 15 minutes
- Category: Main Course
- Method: Stovetop, Grilling
- Cuisine: American
Nutrition
- Serving Size: 1 wrap
- Calories: 520
- Sugar: 5g
- Sodium: 840mg
- Fat: 28g
- Saturated Fat: 12g
- Unsaturated Fat: 13g
- Trans Fat: 1g
- Carbohydrates: 38g
- Fiber: 2g
- Protein: 30g
- Cholesterol: 85mg


