
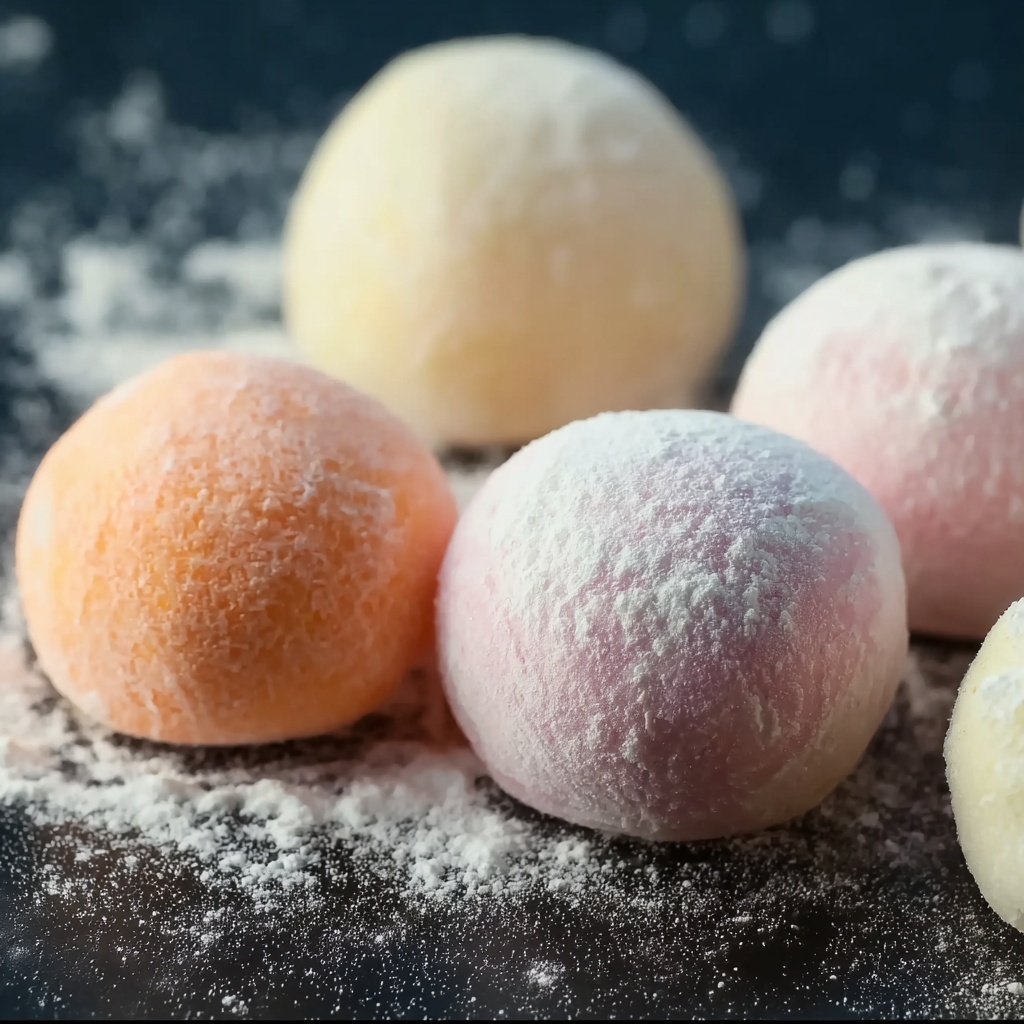
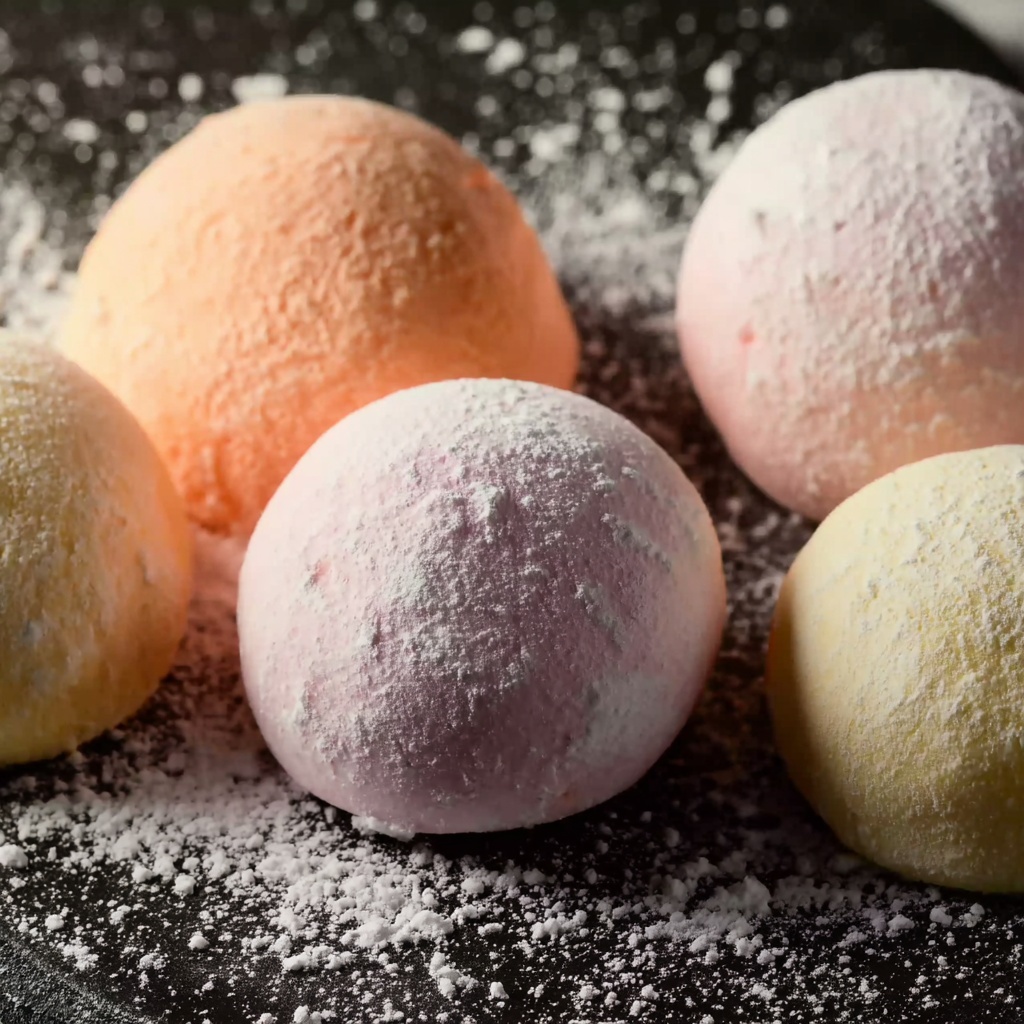
If you have ever craved a chewy, subtly sweet treat that melts in your mouth, this Mochi Recipe is just what you need. Mochi is a classic Japanese rice cake made from glutinous rice flour that offers a delightfully sticky texture with endless possibilities for fillings and flavor twists. This recipe brings together minimal, easy-to-find ingredients to create a beautiful dessert that’s as fun to make as it is to eat. Whether you’re a mochi novice or a seasoned fan, getting cozy with this homemade mochi will surely become one of your favorite kitchen adventures.
Ingredients You’ll Need
The magic of a great mochi starts with a handful of simple, essential ingredients. Each element plays a key role in delivering that perfect balance of sweetness, chewiness, and lightness that makes mochi so irresistible.
- Glutinous rice flour (mochiko): This is the star ingredient that gives mochi its characteristic sticky and elastic texture.
- Water: Essential for hydrating the flour and forming the dough’s smooth consistency.
- Granulated sugar: Adds just the right amount of sweetness that complements the chewy base without overpowering it.
- Cornstarch or potato starch: Perfect for dusting the surface to prevent sticking while handling the dough.
- Fillings (optional): Sweet red bean paste, chocolate spread, or fruit jam are fabulous ways to personalize your mochi.
How to Make Mochi Recipe
Step 1: Mix the Batter
Begin by whisking together the glutinous rice flour, granulated sugar, and water in a microwave-safe bowl until the mixture is completely smooth and free of lumps. This step ensures your mochi dough has a uniform texture for that perfect chew.
Step 2: Microwave the Dough
Cover the bowl loosely with plastic wrap and microwave for 1 minute. Then, stir the mixture to distribute heat evenly, microwave for another minute, stir again, and finish with a final 30 to 60 seconds in the microwave. The dough should thicken, become sticky, and turn slightly translucent, signaling it’s ready for shaping.
Step 3: Prepare Your Work Surface
Generously dust a clean surface with cornstarch or potato starch to prevent sticking. Transfer the hot mochi dough carefully onto the surface. Add more starch on top and let the dough cool just enough to handle.
Step 4: Shape Your Mochi
Flatten the dough to about half an inch thickness. Cut into small circles or squares—your choice! For filled mochi, place a small spoonful of your favorite filling in the center of a piece, then pinch the edges tightly to seal. Once sealed, roll the mochi gently in starch to finish.
How to Serve Mochi Recipe
Garnishes
Sprinkle a little extra cornstarch dust over your mochi for that beautiful, inviting finish. If you want to add a delicate twist, try dusting with ground toasted sesame seeds or a hint of kinako (roasted soybean flour) for some nutty flavor and a stunning presentation.
Side Dishes
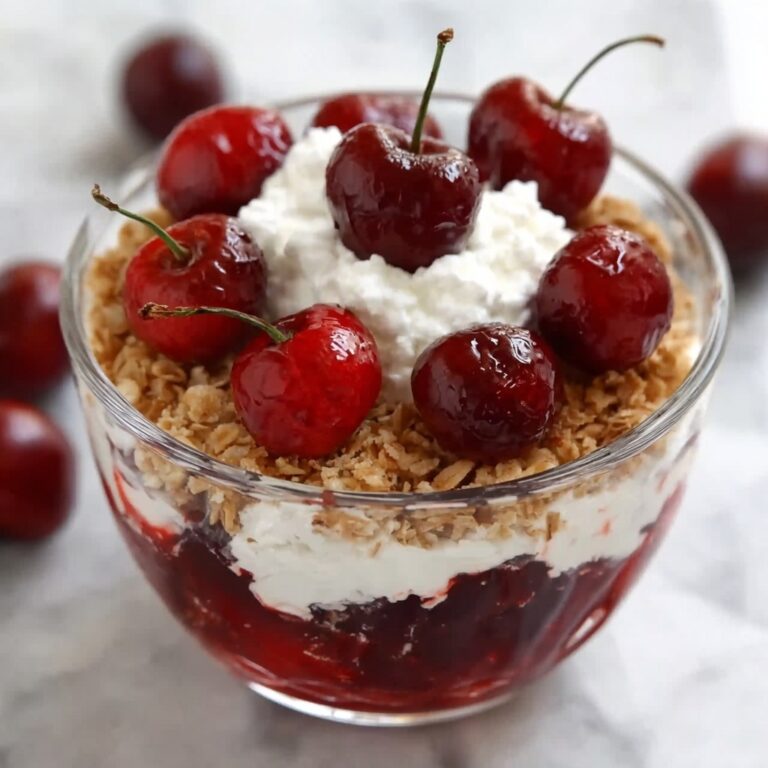
Mochi pairs wonderfully with a hot cup of green tea, which balances the sweetness and provides a refreshing contrast. For a heartier option, try accompanying your mochi with fresh seasonal fruit to add some juicy brightness on the side.
Creative Ways to Present
Transform your mochi into an eye-catching dessert by stacking them on a decorative platter or arranging them on individual wooden plates. You can also serve mochi with a drizzle of sweetened condensed milk or a scoop of vanilla ice cream to elevate the experience even further.
Make Ahead and Storage
Storing Leftovers
Leftover mochi can be kept in an airtight container at room temperature for up to one day, but it’s best enjoyed fresh to capture that ideal soft chew. Refrigeration extends its life to two or three days, though the texture may firm up slightly.
Freezing
If you want to keep mochi longer, freeze them individually on a lined tray to avoid sticking, then transfer to an airtight container or freezer bag. Frozen mochi stays good for several weeks and is perfect for making ahead for parties or snacks.
Reheating
To refresh mochi, gently microwave for 10 to 15 seconds or steam for a few minutes. This softens the texture and rejuvenates the chewiness, bringing it back to life just like fresh.
FAQs
Can I use regular rice flour instead of glutinous rice flour for this Mochi Recipe?
Regular rice flour won’t give you the same sticky, chewy texture that glutinous rice flour provides. It’s best to stick with mochiko or glutinous rice flour for authentic mochi.
Are there gluten concerns with this Mochi Recipe?
This recipe is naturally gluten-free since it uses glutinous rice flour, which does not contain gluten despite the name. It’s a fantastic dessert option for those avoiding gluten.
Can I use other fillings besides sweet red bean paste?
Absolutely! Feel free to get creative with chocolate spread, fruit jams, nut butters, or even fresh fruit pieces. Mochi is versatile, so your imagination is the limit.
Is it necessary to use the microwave, or can I cook mochi dough on the stove?
The microwave method is quick and convenient, but you can steam the mixture instead if you prefer a traditional approach. Steaming takes longer but results in a similar texture.
How do I prevent mochi from sticking to my hands while shaping?
Dusting your hands generously with cornstarch or potato starch helps prevent sticking. Working quickly while the dough is warm also makes shaping easier because chilled mochi becomes tougher to handle.
Final Thoughts
Making homemade mochi is such a joyful experience, and this Mochi Recipe makes it accessible and rewarding for everyone. The chewy texture paired with sweet fillings creates an irresistible treat that’s perfect to share with friends and family. Give it a try—you might just find your new favorite dessert to delight in again and again.
Print
Mochi Recipe
- Prep Time: 10 minutes
- Cook Time: 3 minutes
- Total Time: 13 minutes
- Yield: 8 pieces
- Category: Dessert
- Method: Microwave
- Cuisine: Japanese
- Diet: Vegetarian, Gluten Free
Description
This traditional Japanese Mochi recipe features a chewy, sweet rice cake made from glutinous rice flour. Perfectly soft and subtly sweet, these bite-sized treats can be enjoyed plain or filled with delightful fillings like sweet red bean paste or chocolate spread. Quick to prepare using the microwave, this dessert is an excellent introduction to mochi making at home.
Ingredients
Ingredients
- 1 cup glutinous rice flour (mochiko)
- 3/4 cup water
- 1/4 cup granulated sugar
- 1/2 cup cornstarch or potato starch for dusting
- Optional fillings such as sweet red bean paste, chocolate spread, or fruit jam
Instructions
- Mix the ingredients: In a microwave-safe bowl, whisk together the glutinous rice flour, granulated sugar, and water until the mixture is smooth and free of lumps.
- Initial microwaving: Cover the bowl loosely with plastic wrap and microwave on high for 1 minute, then stir the mixture thoroughly to ensure even cooking.
- Microwave and stir again: Microwave for another 1 minute, followed by stirring to maintain a smooth texture and prevent clumps.
- Final microwaving step: Microwave for an additional 30 to 60 seconds until the dough thickens, becomes sticky, and slightly translucent, indicating it is cooked through.
- Prepare the work surface: Generously dust a clean countertop or cutting board with cornstarch to prevent sticking, then transfer the hot mochi dough onto it.
- Dust and cool: Lightly dust the top of the mochi dough with more cornstarch to prevent sticking and let it cool slightly until it’s comfortable to handle.
- Shape the mochi: Flatten the dough to about 1/2 inch thickness. Cut into small circles or squares using a cookie cutter or knife.
- Add filling (optional): If using fillings, place a small spoonful in the center of each mochi piece and carefully pinch the edges together to seal fully.
- Finish and serve: Roll the shaped mochi lightly in cornstarch to prevent sticking and serve fresh.
Notes
- Work quickly while the dough is still warm because it becomes firmer and harder to shape as it cools.
- Store mochi in an airtight container at room temperature for up to one day or refrigerate for two to three days.
- Before serving, dust off any excess starch to enhance the texture.


