
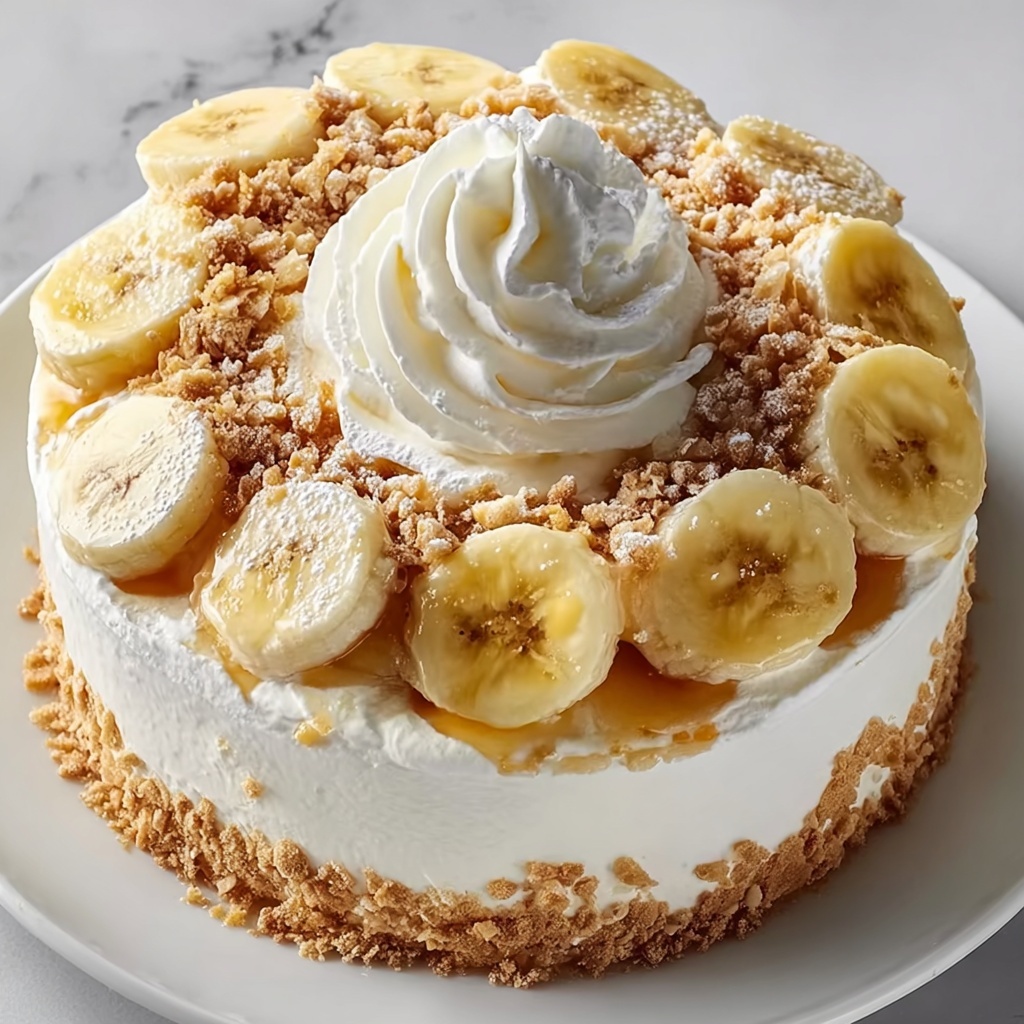
There is something truly comforting and nostalgic about an Old-Fashioned Homemade Banana Pudding Recipe. This timeless dessert brings together creamy, velvety pudding, perfectly ripe bananas, and crisp vanilla wafers in luscious layers that always delight the senses. It’s a wonderful treat that feels like a warm hug from the past, perfect for sharing with family or friends. Whether you’re a seasoned baker or just looking for a delicious way to use your bananas, this recipe will soon become a cherished favorite.
Ingredients You’ll Need
The beauty of this recipe lies in its use of simple, pantry-friendly ingredients that come together harmoniously to create rich flavor and irresistible texture. Each component plays a role, from the creamy pudding base to the sweet bananas and crunchy wafers, making this dessert both delicious and satisfying.
- Granulated sugar: Adds sweetness and helps thicken the pudding for that perfect creamy texture.
- All-purpose flour: Acts as a gentle thickening agent, giving the pudding its body.
- Salt: Enhances all the flavors, balancing the sweetness perfectly.
- Whole milk: Provides richness to the pudding, ensuring it’s smooth and creamy.
- Large egg yolks: Give the pudding a silky texture and deepen the flavor with their natural richness.
- Vanilla extract: Infuses the pudding with warm, aromatic notes that elevate the whole dessert.
- Vanilla wafers: Add a wonderful crispiness that contrasts the smooth pudding and soft bananas.
- Ripe bananas: Bring natural sweetness, freshness, and a lovely fruity flavor to every bite.
- Heavy whipping cream: Whipped into clouds of fluffy topping for an indulgent finish.
- Powdered sugar: Sweetens the whipped cream without adding graininess, keeping it silky smooth.
How to Make Old-Fashioned Homemade Banana Pudding Recipe
Step 1: Prepare the Pudding Base
Start by whisking together the granulated sugar, flour, and salt in a large saucepan. Gradually add the whole milk while whisking continuously until the mixture is silky smooth with no lumps. This step is crucial because a smooth base means your pudding will be perfectly creamy. Place the saucepan over medium heat and stir constantly until the mixture thickens enough to coat the back of a spoon, which usually takes about 10-12 minutes.
Step 2: Temper the Egg Yolks
To avoid scrambling the eggs, you’ll slowly whisk about one cup of your hot pudding mixture into the beaten egg yolks. This gentle warming is the secret to creating a rich, silky custard. Once combined, pour the egg yolk mixture back into the saucepan and continue cooking for another 2-3 minutes until the pudding thickens further. Remove it from the heat and stir in fragrant vanilla extract, which adds that classic Old-Fashioned Homemade Banana Pudding Recipe flavor.
Step 3: Assemble the Layers
Grab a glass baking dish, and let’s build this masterpiece! Start with a layer of vanilla wafers, then add a layer of fresh banana slices. Pour one-third of the pudding on top. Repeat this layering two more times, finishing with a smooth top layer of pudding. This layering is what makes the texture so wonderful — the wafers soften slightly but still offer a bit of bite, bananas add fresh sweetness, and pudding is luxuriously creamy.
Step 4: Chill and Set
Cover the dish tightly with plastic wrap, pressing it directly onto the surface of the pudding to prevent a skin from forming. Refrigerate it for at least 4 hours or, better yet, overnight. This resting time allows the flavors to meld beautifully and the wafers to soften just right, giving you that perfect bite every time.
Step 5: Whip the Cream and Garnish
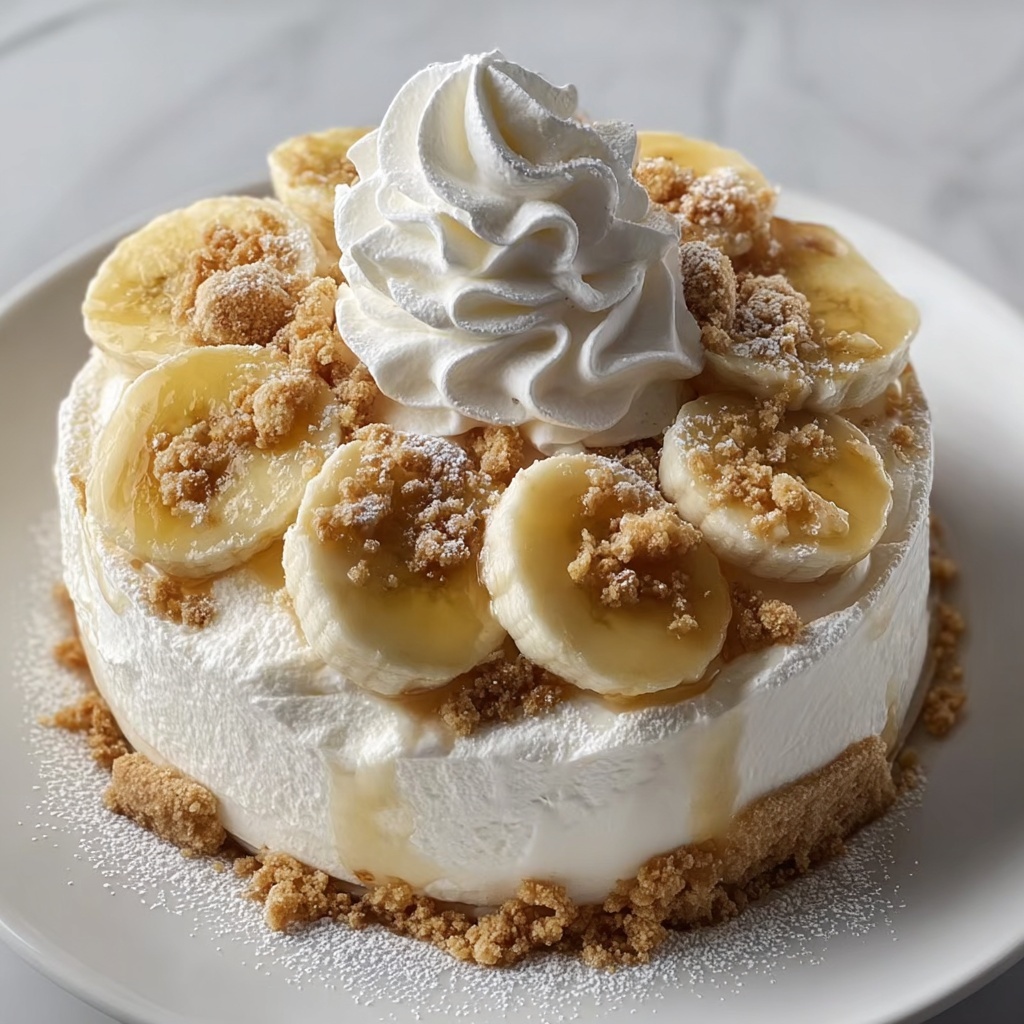
Before serving, whip the heavy cream and powdered sugar together until soft peaks just hold their shape. This fluffy topping adds a light, airy contrast to the dense pudding beneath. Spread or dollop the whipped cream over your pudding, and garnish with extra vanilla wafers or more banana slices if you want to add a little extra charm to your presentation.
How to Serve Old-Fashioned Homemade Banana Pudding Recipe
Garnishes
Adding a few more banana slices or a handful of vanilla wafers on top is a simple but delightful way to make your dessert even more inviting. A sprinkle of cinnamon or nutmeg can add a subtle warmth, enhancing the flavors without overpowering the dish.
Side Dishes
While the banana pudding shines as a dessert star on its own, it pairs beautifully with a simple cup of hot coffee or fresh berries for added brightness. If serving at a gathering, a light salad beforehand keeps things balanced and lets the pudding be the sweet finale.
Creative Ways to Present
Serve this classic dessert in individual mason jars or clear parfait glasses for charming single servings that show off those beautiful layers. You can even turn it into a trifle by adding layers of crushed nuts or shredded coconut between the pudding and bananas for a fun twist.
Make Ahead and Storage
Storing Leftovers
After enjoying your banana pudding, cover any leftovers tightly in the refrigerator. The pudding will keep well for 2-3 days, though it’s best eaten sooner as the bananas might start to brown and the wafers soften further over time. Always use a fresh layer of whipped cream when serving leftovers for the best experience.
Freezing
Because of the fresh bananas and whipped cream, freezing this pudding isn’t ideal—the texture and taste can suffer. If you must freeze, omit the bananas and whipped cream beforehand, freeze the layered pudding and wafers, and add fresh bananas and whipped cream only after thawing and just before serving.
Reheating
This banana pudding is meant to be enjoyed chilled, so reheating isn’t recommended. The creamy custard and fresh bananas shine when served cold, making for the best flavor and texture combination.
FAQs
Can I use different types of bananas in this recipe?
Absolutely! While ripe yellow bananas are classic, slightly softer or even baby bananas work well. The key is to use bananas that are sweet but not overly mushy, so your layers hold up nicely.
What can I substitute for vanilla wafers?
If vanilla wafers aren’t on hand, shortbread cookies or graham crackers make excellent alternatives. They add a pleasant crunch and complement the pudding’s flavor beautifully.
Is it okay to use low-fat milk instead of whole milk?
Whole milk is preferred for its richness and creamy texture, but if you need a lighter option, 2% milk can work. Keep in mind the pudding may be slightly less thick and indulgent.
Can this pudding be made vegan or dairy-free?
Swapping the whole milk for almond or oat milk and using a vegan egg substitute can help make a dairy-free version, though the texture and flavor will differ from the traditional recipe. Coconut cream can replace heavy cream for the topping.
How long does it take to set properly?
For the best flavor and texture, refrigerate the assembled pudding for at least 4 hours, but overnight chilling is ideal. This gives the wafers time to soften and the pudding to thicken perfectly.
Final Thoughts
If you’re craving a heartwarming dessert that brings smiles and memories to any table, this Old-Fashioned Homemade Banana Pudding Recipe is your go-to. With simple ingredients and straightforward steps, you’ll create a luscious, layered treat that feels like a loving nod to tradition. Give it a try soon—you might just find it becoming your new family favorite!
Print
Old-Fashioned Homemade Banana Pudding Recipe
- Prep Time: 20 minutes
- Cook Time: 15 minutes
- Total Time: 4 hours 35 minutes
- Yield: 8 servings
- Category: Dessert
- Method: Stovetop
- Cuisine: Southern American
Description
This Old-Fashioned Homemade Banana Pudding is a classic Southern dessert featuring layers of creamy vanilla pudding, ripe banana slices, and crunchy vanilla wafers. The rich pudding is homemade on the stovetop using wholesome ingredients, and the dessert is chilled for a few hours to meld the flavors before being topped with freshly whipped cream. It’s a comforting, nostalgic treat perfect for family gatherings or anytime you crave a timeless sweet indulgence.
Ingredients
Pudding
- 1 cup granulated sugar
- 1/2 cup all-purpose flour
- 1/2 teaspoon salt
- 4 cups whole milk
- 6 large egg yolks, lightly beaten
- 2 teaspoons vanilla extract
Layers
- 1 box vanilla wafers (approximately 11 ounces)
- 5 to 6 ripe bananas, sliced
Whipped Cream Topping
- 1 cup heavy whipping cream
- 2 tablespoons powdered sugar
Instructions
- Prepare the Pudding Base: In a large saucepan, whisk together the granulated sugar, all-purpose flour, and salt. Gradually add the whole milk, whisking continuously until the mixture is smooth with no lumps.
- Cook the Pudding: Place the saucepan over medium heat and cook the mixture, stirring constantly to prevent burning, until it thickens and coats the back of a spoon. This process typically takes 10 to 12 minutes.
- Temper the Egg Yolks: Remove the saucepan from heat briefly. Gradually whisk about 1 cup of the hot pudding mixture into the lightly beaten egg yolks to temper them and prevent curdling. Once combined, return the egg yolk mixture into the saucepan while stirring constantly.
- Finish Cooking the Pudding: Return the saucepan to medium heat and continue to cook for 2 to 3 more minutes, stirring constantly, until the pudding thickens further. Remove from heat and stir in the vanilla extract for flavor.
- Assemble the Banana Pudding: In a glass baking dish, layer one-third of the vanilla wafers, followed by one-third of the sliced bananas. Pour one-third of the pudding over the bananas. Repeat this layering process two more times, finishing with a final layer of pudding on top.
- Chill the Pudding: Cover the baking dish tightly with plastic wrap, pressing the wrap directly onto the surface of the pudding to prevent a skin from forming. Refrigerate the assembled pudding for at least 4 hours or overnight to allow flavors to meld and the pudding to set properly.
- Make the Whipped Cream: Just before serving, whip the heavy cream and powdered sugar together in a chilled mixing bowl until soft peaks form, creating a light and fluffy topping.
- Serve and Garnish: Spread or dollop the whipped cream over the chilled banana pudding. Garnish with additional vanilla wafers or banana slices if desired for an inviting presentation.
Notes
- Use ripe but firm bananas to avoid browning and maintain texture layers.
- For a richer pudding, you can substitute some of the whole milk with half-and-half or cream.
- Pressing plastic wrap directly onto the pudding prevents an undesirable skin from forming during refrigeration.
- Pudding can be assembled a day ahead to enhance flavor, but add the whipped cream just before serving to maintain its texture.
- If you prefer, you can toast the vanilla wafers lightly before layering for an added crunch and depth of flavor.
- Ensure constant stirring while cooking the pudding to prevent lumps and scorching.

