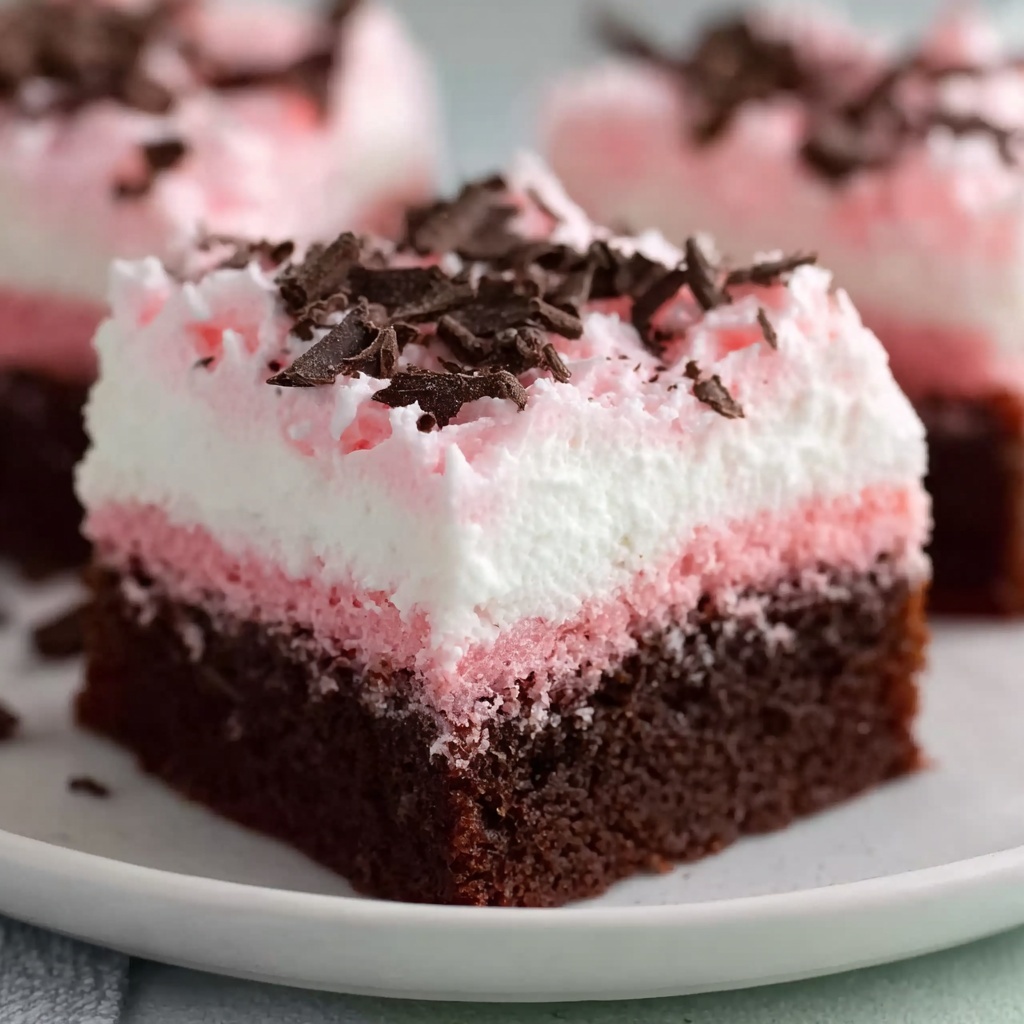
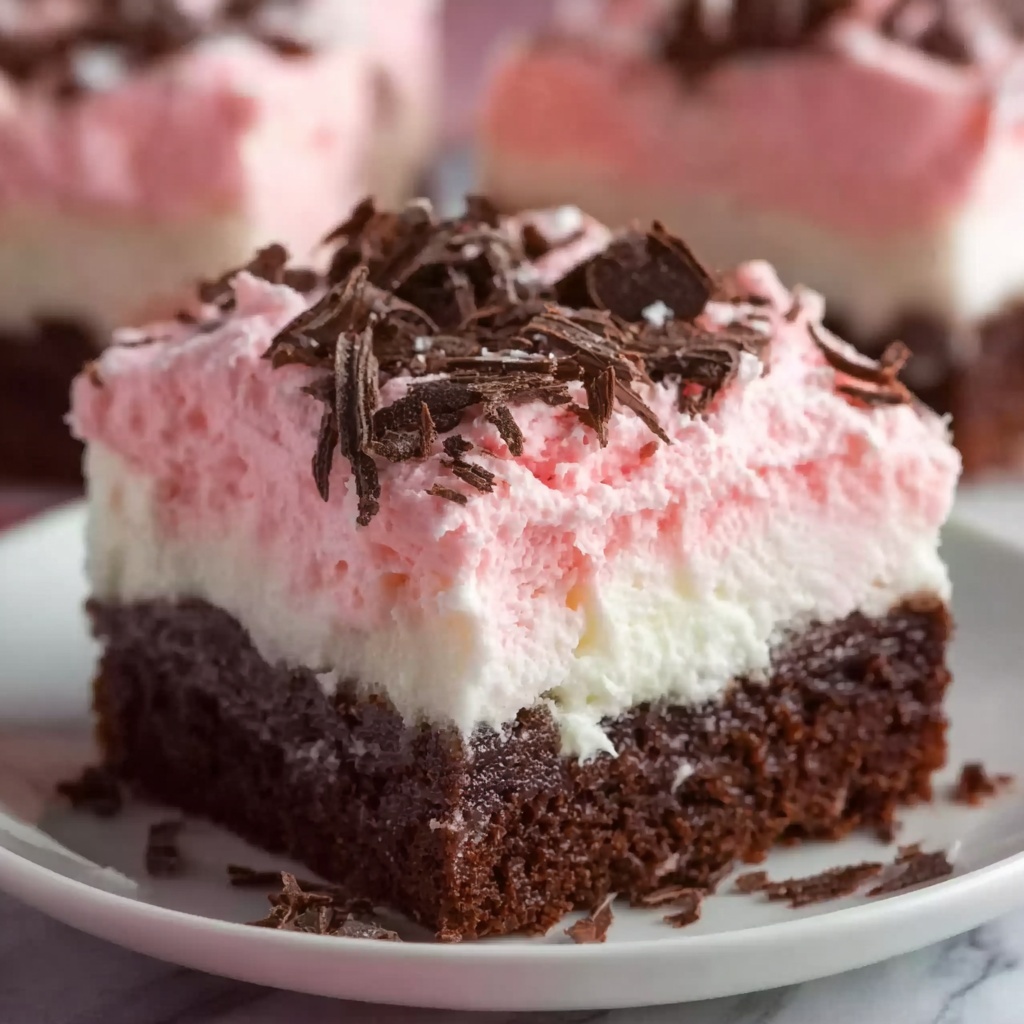
If you have a soft spot for fudgy, chocolatey treats with a fluffy, snowy twist, the Sno Ball Brownies Recipe is about to become your new favorite dessert. These brownies boast a rich cocoa backbone, studded with melty chocolate chips, and are lovingly coated in a sweet coconut and powdered sugar blanket that makes every bite feel like a winter wonderland. It’s a playful, irresistible dessert that balances luscious texture and eye-catching appearance, perfect for sharing with friends or just spoiling yourself with something special.
Ingredients You’ll Need
Getting the ingredients right is key to nailing the perfect Sno Ball Brownies Recipe. Each component plays a vital role, from the deep cocoa that flavors the batter to the coconut that creates that iconic snowy topping. Don’t worry—these ingredients are simple, but combined, they create a truly magical bite.
- Unsweetened cocoa powder: Provides rich, intense chocolate flavor and a lovely dark color.
- Granulated sugar: Balances bitterness from cocoa and keeps the brownies perfectly sweet.
- Unsalted butter: Adds moisture and a velvety texture; melting it helps mix everything smoothly.
- Eggs: Bind the ingredients and give the brownies structure without making them cakey.
- All-purpose flour: Gives just enough body to create those fudgy, chewy brownies we all crave.
- Vanilla extract: Enhances and rounds out the chocolate flavor with a warm note.
- Sweetened coconut flakes: Perfect for the snowy coating, adding texture and a subtle tropical sweetness.
- Semi-sweet chocolate chips: Melt to create gooey pockets of chocolate delight throughout the brownies.
- Powdered sugar: Mixed with coconut for that classic Sno Ball appearance and a light sweetness on the outside.
How to Make Sno Ball Brownies Recipe
Step 1: Prep Your Pan and Oven
Start by preheating your oven to 350°F (175°C) and greasing an 8-inch square baking pan. This is a crucial first step because a properly greased pan ensures your brownies won’t stick and will bake evenly, which sets the stage for perfectly textured treats.
Step 2: Mix Dry Ingredients
In a medium bowl, whisk together the unsweetened cocoa powder, all-purpose flour, granulated sugar, and a pinch of salt. Combining these dry ingredients beforehand ensures an even distribution of flavor and prevents clumps, creating a smooth batter that will bake into those fudgy brownies we love.
Step 3: Combine Wet Ingredients
Next, melt the unsalted butter gently, then whisk it together with the eggs and vanilla extract. Mixing the wet ingredients separately allows them to blend without scrambling the eggs and helps incorporate air so your brownies won’t be dense or dry.
Step 4: Mix Wet and Dry Ingredients
Pour the wet mixture into the dry ingredients and stir until just combined. It’s important not to overmix here; a few streaks of flour are okay since overdoing it can make brownies tough. The balance here leads to that signature chewy yet tender bite.
Step 5: Fold in Chocolate Chips
Gently fold in the semi-sweet chocolate chips to distribute them evenly throughout the batter. These chips will melt slightly during baking, creating delightful gooey pockets of chocolate in every bite.
Step 6: Bake and Coat
Pour the batter into your prepared pan and bake for about 25 to 30 minutes, or until a toothpick inserted in the center comes out with moist crumbs. While your brownies cool, toss powdered sugar and sweetened coconut flakes together in a shallow dish. Once the brownies are cool enough to handle, cut them into squares and roll each piece in the coconut and powdered sugar mixture for that charming Sno Ball finish.
How to Serve Sno Ball Brownies Recipe

Garnishes
These brownies are already stunning on their own, but a few extra touches can elevate their presentation. Try adding a dusting of extra powdered sugar or a drizzle of melted chocolate on top. Fresh raspberries or a sprig of mint will add a pop of color and a fresh contrast to the luscious sweetness.
Side Dishes
Serve Sno Ball Brownies alongside a scoop of vanilla ice cream or a dollop of whipped cream for an indulgent dessert experience. They also pair wonderfully with hot coffee or a rich, creamy hot chocolate if you want to emphasize the cozy, comforting vibe.
Creative Ways to Present
For parties or gifts, arrange Sno Ball Brownies in a decorative box or on a tiered dessert tray with paper doilies. You can also place them in mini cupcake liners before rolling in the coconut mix for individual portions that are easy to grab and share.
Make Ahead and Storage
Storing Leftovers
Store leftover Sno Ball Brownies in an airtight container at room temperature. They will stay fresh for up to 3 days, maintaining their fudgy texture and snowy coating, making it easy to enjoy them the next day or for a few days after baking.
Freezing
If you want to keep these sweet treats for longer, wrap individual brownies tightly in plastic wrap and store them in a freezer-safe container or bag. They can be frozen for up to 3 months without losing flavor or texture, so you always have a delicious snack ready when cravings strike.
Reheating
To enjoy your frozen or leftover brownies warm, simply let them thaw at room temperature or microwave them for about 15 seconds. This little warmth will revive their gooey chocolate chips and fresh appearance, making them taste almost freshly baked again.
FAQs
Can I use sweetened cocoa powder instead of unsweetened?
For best results, stick with unsweetened cocoa powder. Sweetened cocoa will add extra sugar, potentially throwing off the sweetness balance and texture of the brownies.
Is it necessary to roll the brownies in the powdered sugar and coconut mixture?
While it’s not mandatory, rolling the brownies in this mixture is what transforms them into “Sno Balls,” giving them their signature snowy look and a delightful textural contrast.
Can I substitute the chocolate chips with nuts?
Absolutely! Chopped walnuts, pecans, or almonds would add a lovely crunch and nutty flavor if you prefer, though it changes the classic chocolate chip experience.
How do I know when the brownies are done baking?
Insert a toothpick into the center of the brownies. It should come out with moist crumbs attached but not wet batter. This ensures a fudgy, not dry, texture.
Can I make this recipe gluten-free?
You can substitute the all-purpose flour with a gluten-free baking blend that measures cup for cup. Just verify the blend contains xanthan gum or similar to keep the texture nice.
Final Thoughts
Trying the Sno Ball Brownies Recipe means treating yourself to a lovingly indulgent dessert that feels festive, fun, and wonderfully comforting all at the same time. Whether it’s a special occasion or just a craving for chocolatey coziness, these brownies never fail to delight. I can’t wait for you to bake a batch and share the joy with your favorite people—get ready to enjoy some serious sweet moments!
Print
Sno Ball Brownies Recipe
- Prep Time: 15 minutes
- Cook Time: 25-30 minutes
- Total Time: 40-45 minutes
- Yield: 12 servings
- Category: Dessert
- Method: Baking
- Cuisine: American
- Diet: Vegetarian
Description
Sno Ball Brownies combine rich, fudgy cocoa brownies with a sweet, snowy coating of powdered sugar and coconut flakes, creating an irresistible treat perfect for any occasion. These easy-to-make brownies feature a moist and chocolatey interior topped with a delightful coconut-sugar mixture that adds texture and festive flair.
Ingredients
Brownie Batter
- 1/2 cup unsweetened cocoa powder
- 1 cup granulated sugar
- 1/2 cup unsalted butter, melted
- 2 large eggs
- 3/4 cup all-purpose flour
- 1 teaspoon vanilla extract
- 1/4 teaspoon salt
- 1/2 cup semi-sweet chocolate chips
Topping
- 1/2 cup powdered sugar
- 1 cup sweetened coconut flakes
Instructions
- Preheat Oven and Prepare Pan: Preheat your oven to 350°F (175°C) and grease an 8-inch square baking pan thoroughly to ensure easy removal of the brownies after baking.
- Mix Dry Ingredients: In a medium bowl, whisk together the unsweetened cocoa powder, all-purpose flour, granulated sugar, and salt until well combined to evenly distribute the dry ingredients.
- Combine Wet Ingredients: Melt the unsalted butter and let it cool slightly. Then whisk in the eggs and vanilla extract to create a smooth wet mixture.
- Make the Batter: Pour the wet ingredient mixture into the dry ingredients and stir gently until just combined. Avoid overmixing to keep the brownies tender.
- Fold in Chocolate Chips: Carefully fold in the semi-sweet chocolate chips to add bursts of melted chocolate throughout the brownies.
- Bake: Pour the brownie batter into the prepared baking pan and smooth the top with a spatula. Bake in the preheated oven for 25-30 minutes or until a toothpick inserted in the center comes out with moist crumbs but not wet batter.
- Prepare Topping: While the brownies are cooling in the pan, mix the powdered sugar and sweetened coconut flakes together in a shallow dish to create the snowy coating.
- Cut and Coat: Once the brownies have cooled enough to handle, cut them into 12 equal squares. Roll each brownie square in the powdered sugar and coconut mixture, coating all sides, then serve.
Notes
- Make sure to not overbake the brownies to keep them moist and fudgy.
- You can substitute semi-sweet chocolate chips with dark or milk chocolate chips as desired.
- Let the brownies cool fully before rolling in the coconut mixture to ensure it sticks well.
- For an extra rich flavor, use high-quality cocoa powder and chocolate chips.
- Store brownies in an airtight container at room temperature for up to 3 days for best freshness.


