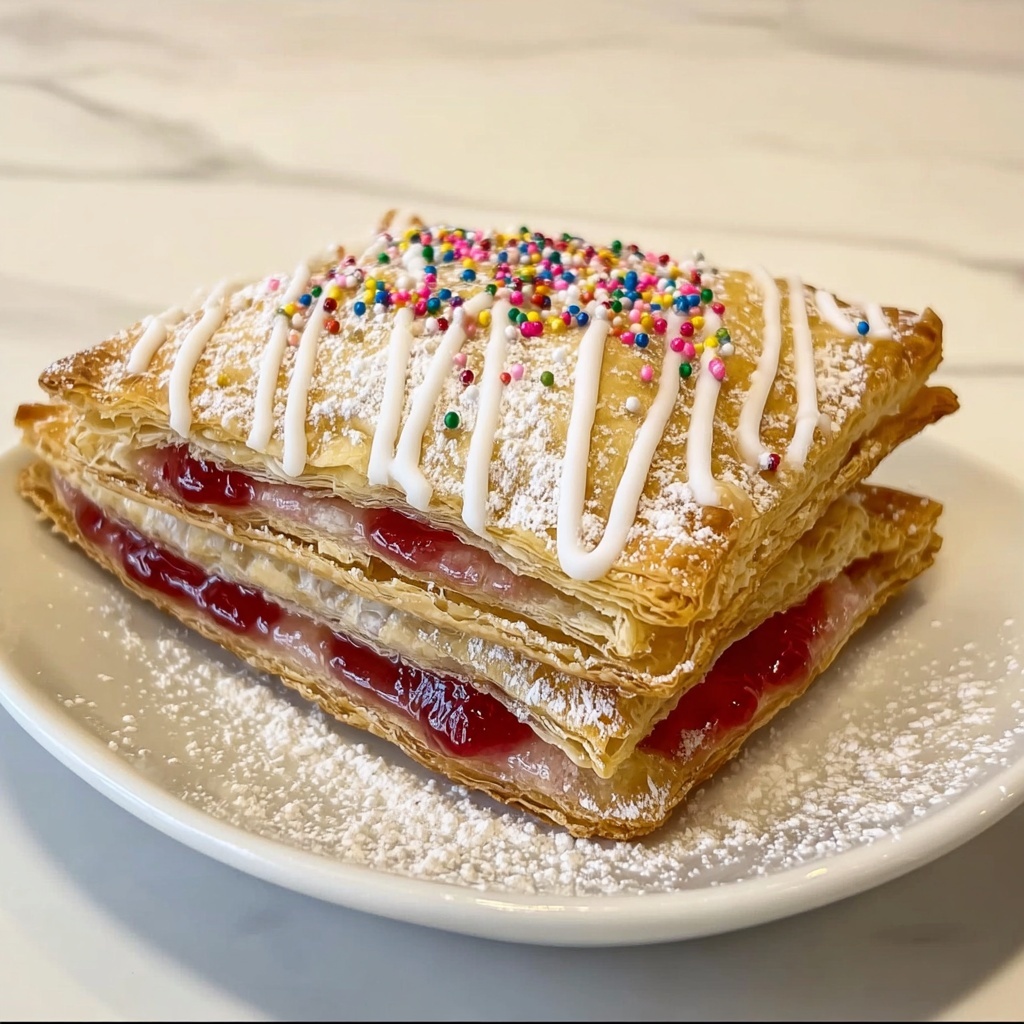
If you have a fondness for nostalgic breakfasts with a homemade twist, you are going to absolutely adore this Homemade Pop Tarts with Pie Crust Recipe. These delightful pastries combine the flaky, buttery texture of pie crust with the sweet surprise of your favorite fruit jam tucked inside. Each bite offers a perfect balance of crisp edges and tender centers, making them irresistible to both kids and adults. Best of all, making these pop tarts at home means you can customize the fillings and toppings to your heart’s content, creating a breakfast treat that feels like a warm hug from your kitchen to your table.
Ingredients You’ll Need
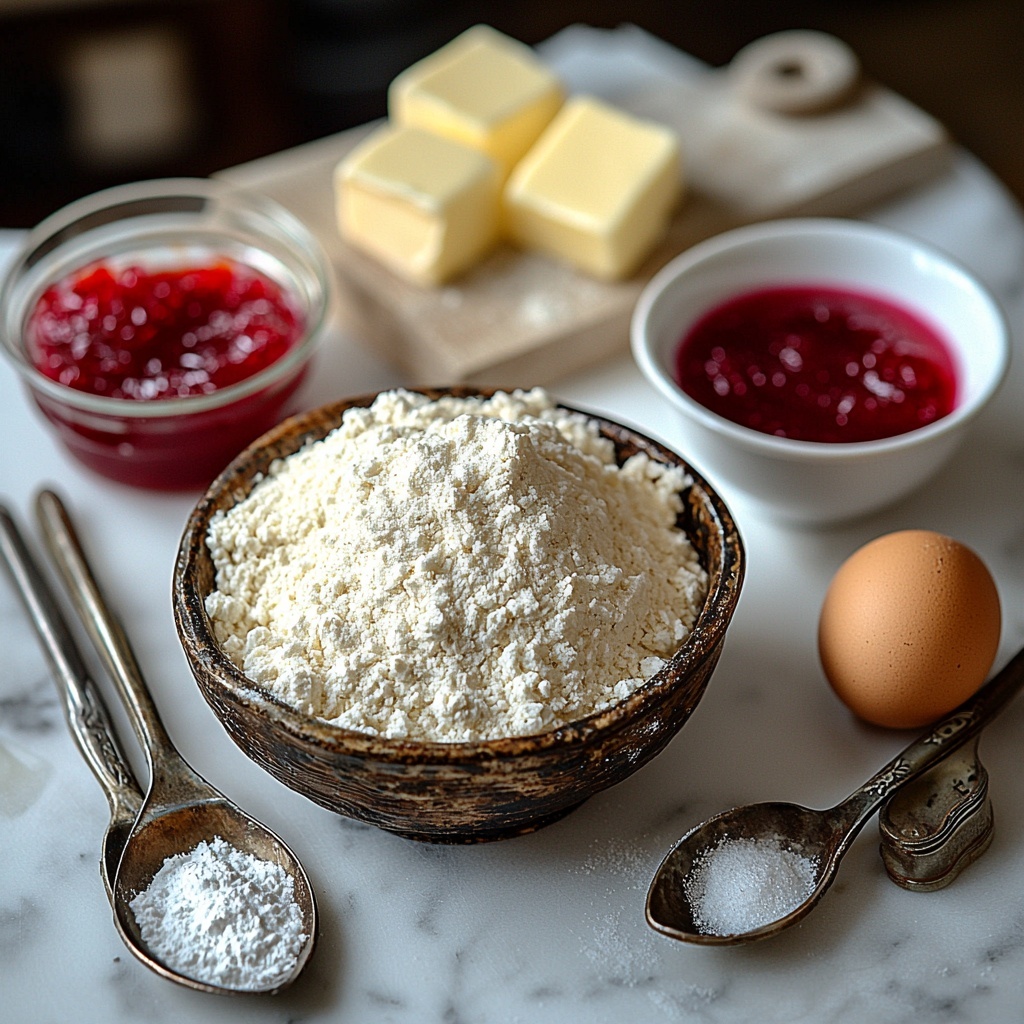
Gathering the right ingredients is half the joy of making these homemade pop tarts. Each component is carefully selected to build the perfect balance of taste and texture — from the flaky crust down to the luscious filling.
- 2 cups all-purpose flour: The foundation of the dough, providing structure and tenderness.
- 1 teaspoon salt: Enhances all the other flavors without overpowering them.
- 1 tablespoon sugar: Adds just the right touch of sweetness to the crust.
- 1 cup unsalted butter, chilled and diced: Creates the signature flakiness when cut into the flour.
- 6 to 8 tablespoons ice water: Helps the dough come together without melting the butter.
- 1 cup fruit jam or filling of your choice: Provides the sweet, gooey center that makes pop tarts so delightful.
- 1 egg: Used to help seal and glaze the pop tarts with a beautiful golden finish.
- 1 tablespoon milk: Mixed with the egg to create a glossy egg wash.
- Powdered sugar for icing: Adds a sweet, decorative drizzle that’s simply irresistible.
How to Make Homemade Pop Tarts with Pie Crust Recipe
Step 1: Prepare Your Oven and Dry Ingredients
Start by preheating your oven to 350°F (175°C). In a large mixing bowl, whisk together the flour, salt, and sugar. This base mix ensures each pop tart has the right balance of flavor and texture, setting the stage for that perfect flaky crust.
Step 2: Cut in the Butter
Next, add the chilled, diced butter to your dry ingredients. Using a pastry cutter, two knives, or your fingers, cut the butter into the flour until the mixture resembles coarse crumbs. The key here is to keep your butter cold to achieve the signature layers of a pie crust.
Step 3: Add Ice Water to Form Dough
Slowly stir in the ice water one tablespoon at a time, mixing gently until the dough just comes together in a ball. Avoid overworking the dough to maintain tenderness. If it feels too dry, add a splash more water, but keep it on the minimal side.
Step 4: Roll Out and Cut Dough
On a floured surface, roll out your dough to about 1/8 inch thick. Using a knife or pizza cutter, slice the dough into rectangles roughly 3 by 4 inches. These will form the top and bottom layers of your pop tarts.
Step 5: Assemble the Pop Tarts
Spread about a tablespoon of your chosen fruit jam on half of the rectangles, leaving a small border around the edges. Place the remaining rectangles over the filled ones. Press down gently and seal the edges with the tines of a fork, making sure nothing escapes during baking.
Step 6: Egg Wash and Bake
Beat the egg and milk together to make a beautiful glaze. Brush the tops of the pop tarts generously with this mixture to achieve a golden, glossy finish after baking. Place your pop tarts on a baking sheet lined with parchment paper and bake for 20 to 25 minutes, watching for a perfect golden brown color.
Step 7: Cool and Add Icing
Once baked, allow your Homemade Pop Tarts with Pie Crust Recipe to cool on a wire rack. While they cool, mix some powdered sugar with a little water to create a smooth icing, then drizzle it artistically over the tops. This finishing touch adds sweetness and charm to your scrumptious pastries.
How to Serve Homemade Pop Tarts with Pie Crust Recipe
Garnishes
A simple powdered sugar drizzle is classic, but you can also get creative with colorful sprinkles, a light dusting of cinnamon, or even a smear of white chocolate glaze. These little accents bring visual appeal and enhance the flavor further.
Side Dishes
Serve your pop tarts alongside fresh fruit, a dollop of whipped cream, or a cup of warm coffee or tea. These complementary sides round out the breakfast experience and balance the sweetness with fresh and creamy contrasts.
Creative Ways to Present
For a fun twist, cut the pop tarts into mini-bites and serve them on a platter with different fillings and toppings. You could even create a pop tart bar where everyone can add their favorite icings and garnishes. Not only does this make breakfast interactive, it also looks stunning on any brunch table.
Make Ahead and Storage
Storing Leftovers
You can keep any leftover Homemade Pop Tarts with Pie Crust Recipe in an airtight container at room temperature for up to two days without losing their crunch and flavor. For longer storage, refrigeration helps extend freshness up to a week.
Freezing
Pop tarts freeze beautifully! Let them cool completely, then wrap individually in plastic wrap before placing them in a freezer-safe bag. They’ll keep for up to 2 months this way, making it super convenient to enjoy them anytime.
Reheating
To enjoy your pop tarts fresh and warm, reheat them in a toaster oven or oven at 300°F until heated through and crisp on the edges. Avoid microwaving if you want to keep that flaky texture intact.
FAQs
Can I use store-bought pie crust instead of making my own dough?
Absolutely! Using store-bought pie crust is a quick shortcut that still yields delicious results. Just be sure to thaw it thoroughly before rolling and assembling your pop tarts.
What kinds of fillings work best for this recipe?
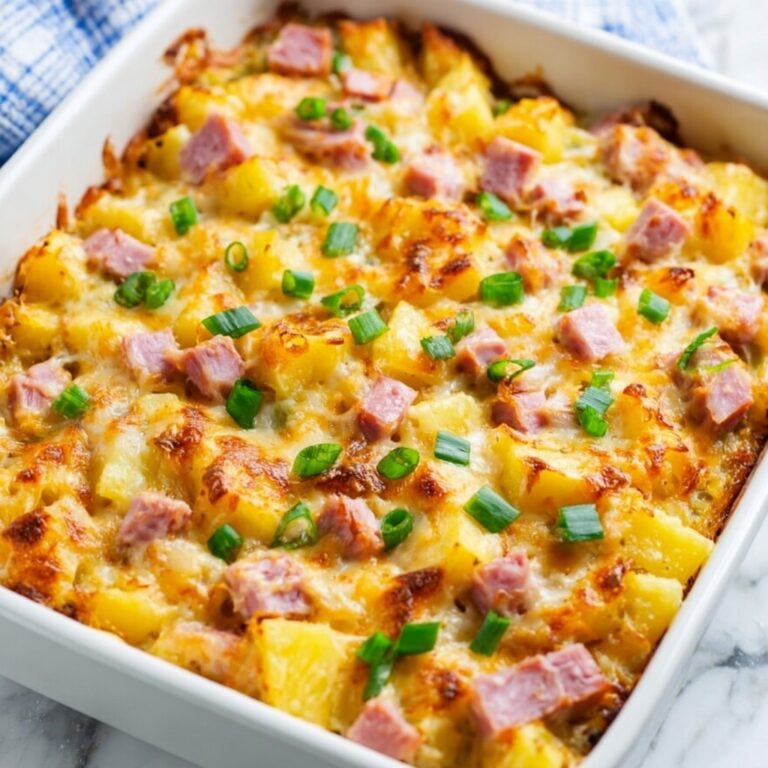
Fruit jams like strawberry, raspberry, blueberry, or apricot are classic choices. You can also experiment with Nutella, peanut butter and jelly, or even savory options like cheese and ham for a breakfast twist.
How do I prevent the filling from leaking during baking?
Make sure to leave a clear border around the filling on the dough and press the edges firmly with a fork to seal. Chilling the pop tarts briefly before baking can also help keep the filling contained.
Can I make the dough ahead of time?
Yes, the dough can be made up to two days in advance and kept covered in the refrigerator. This actually helps the butter firm up again, which improves flakiness when baked.
Is this recipe suitable for kids to help make?
Definitely! Children love rolling out dough, cutting shapes, and adding fillings. It’s a fun and safe way to teach them basic baking skills and enjoy quality time together.
Final Thoughts
Making Homemade Pop Tarts with Pie Crust Recipe is truly one of those simple pleasures that bring big smiles to the breakfast table. With its flaky crust, sweet filling, and delightful icing, this recipe is a charming way to start your day or share a cozy snack with loved ones. I encourage you to try it out, play with your favorite flavors, and create your very own moments of comfort and joy with every bite.
Print
Homemade Pop Tarts with Pie Crust Recipe
- Prep Time: 20 minutes
- Cook Time: 25 minutes
- Total Time: 45 minutes
- Yield: 12 servings
- Category: Breakfast
- Method: Baking
- Cuisine: American
Description
These homemade Pop Tarts with a flaky pie crust are a delightful treat that you can customize with your favorite fruit jam or filling. Crispy, golden, and lightly sweetened with a powdered sugar icing, they make for the perfect indulgent breakfast or snack with a nostalgic twist.
Ingredients
For the Pie Crust:
- 2 cups all-purpose flour
- 1 teaspoon salt
- 1 tablespoon sugar
- 1 cup unsalted butter, chilled and diced
- 6 to 8 tablespoons ice water
For the Filling and Topping:
- 1 cup fruit jam or filling of your choice
- 1 egg
- 1 tablespoon milk
- Powdered sugar for icing
Instructions
- Preheat Oven: Preheat your oven to 350°F (175°C) to prepare for baking the pop tarts evenly and get a crispy crust.
- Mix Dry Ingredients: In a bowl, combine 2 cups of all-purpose flour, 1 teaspoon salt, and 1 tablespoon sugar, ensuring the mixture is well blended to enhance the crust’s flavor.
- Cut in Butter: Add the chilled, diced butter to the flour mixture and use a pastry cutter or your fingers to cut it in until the mixture resembles coarse crumbs to create a flaky texture.
- Add Ice Water: Gradually stir in 6 to 8 tablespoons of ice water, one tablespoon at a time, just until the dough comes together to form a ball. Don’t overwork to keep it tender.
- Roll Dough: On a floured surface, roll out the dough to about 1/8 inch thickness, which is ideal for a crisp yet tender pop tart crust.
- Cut Rectangles: Cut the rolled dough into rectangles approximately 3×4 inches in size, which makes them easy to handle and fit for a standard breakfast portion.
- Fill Pop Tarts: Spread about 1 tablespoon of your chosen fruit jam or filling evenly over half of the rectangles, leaving edges free for sealing.
- Seal Edges: Cover each filled rectangle with a plain dough rectangle and seal the edges by pressing with a fork to prevent the filling from leaking during baking.
- Prepare Egg Wash: Beat 1 egg with 1 tablespoon of milk and brush this mixture over the tops of the pop tarts to achieve a beautifully golden and shiny finish.
- Bake: Bake the pop tarts in the preheated oven for 20-25 minutes or until they turn golden brown and crisp.
- Cool and Ice: Allow the pop tarts to cool completely on a wire rack. Mix powdered sugar with a small amount of water to make icing, then drizzle over the cooled pop tarts for a sweet finishing touch.
Notes
- Ensure the butter and water are very cold for a flaky pie crust.
- Do not overfill with jam to prevent leakage.
- Use any type of fruit jam or preserve for different flavors.
- Store leftovers in an airtight container at room temperature for up to 3 days.
- For a healthier option, use whole wheat flour or sugar substitutes.

